How To Caramelize Onions

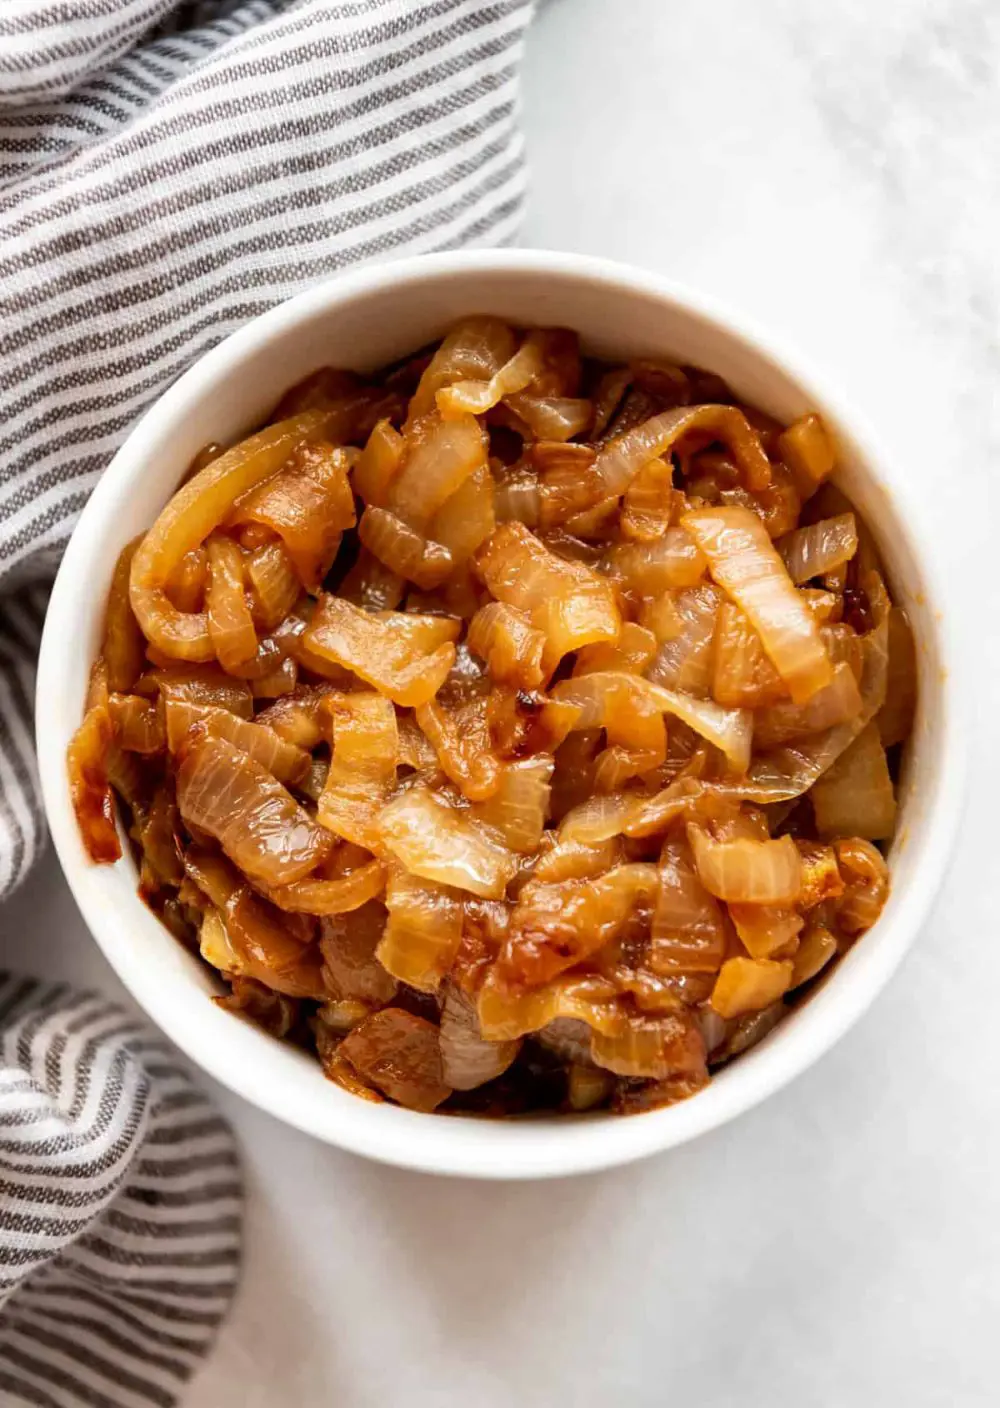
Caramelizing onions is a wonderful way to enhance the flavor of even the most basic ingredients. Whether you're adding them to pizzas, quiches, grilled cheese sandwiches or burgers, caramelized onions can elevate your cooking to the next level. Making caramelized onions is simple, though it does require patience.
They need about 45 minutes to achieve that perfect caramelized richness, so it's not the best choice for a quick weeknight meal. However, the time invested is well worth it, as the result is packed with irresistible umami flavor. Here's how to achieve perfectly caramelized onions.
What You Need to Make Caramelized Onions
Onions
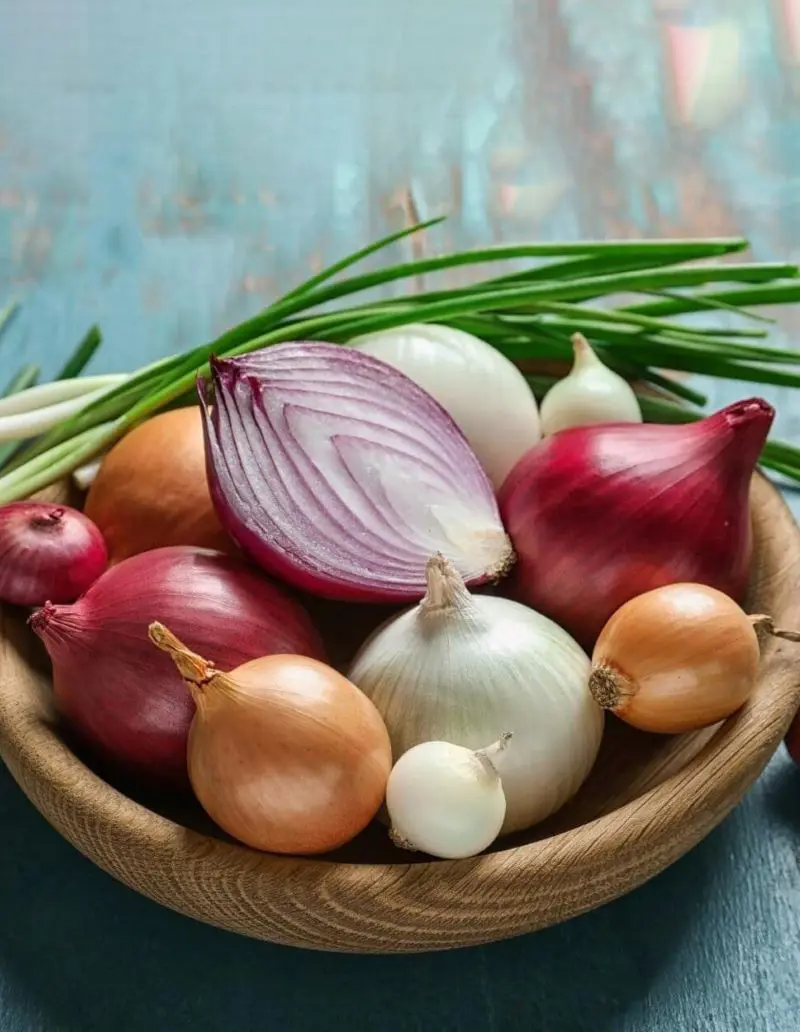
Onions are the star ingredient in caramelizing. Their natural sugars help achieve a rich, deep flavor. When cooked slowly, onions transform from their sharp, pungent raw state to a sweet, tender delight. Choose yellow onions for their balanced sweetness and versatility, or opt for red onions for a milder taste with a hint of color.
White onions will also work. You can use as many onions as you like for caramelizing.
Olive Oil or Butter
Both olive oil and butter are used to facilitate the cooking process and add richness to the onions. Olive oil contributes a fruity, slightly peppery flavor and is ideal for a healthier option. Butter, on the other hand, adds a creamy, slightly nutty richness that enhances the caramelization process.
For a decadent touch, some recipes use a combination of both to achieve a balance of flavors and textures.
Salt
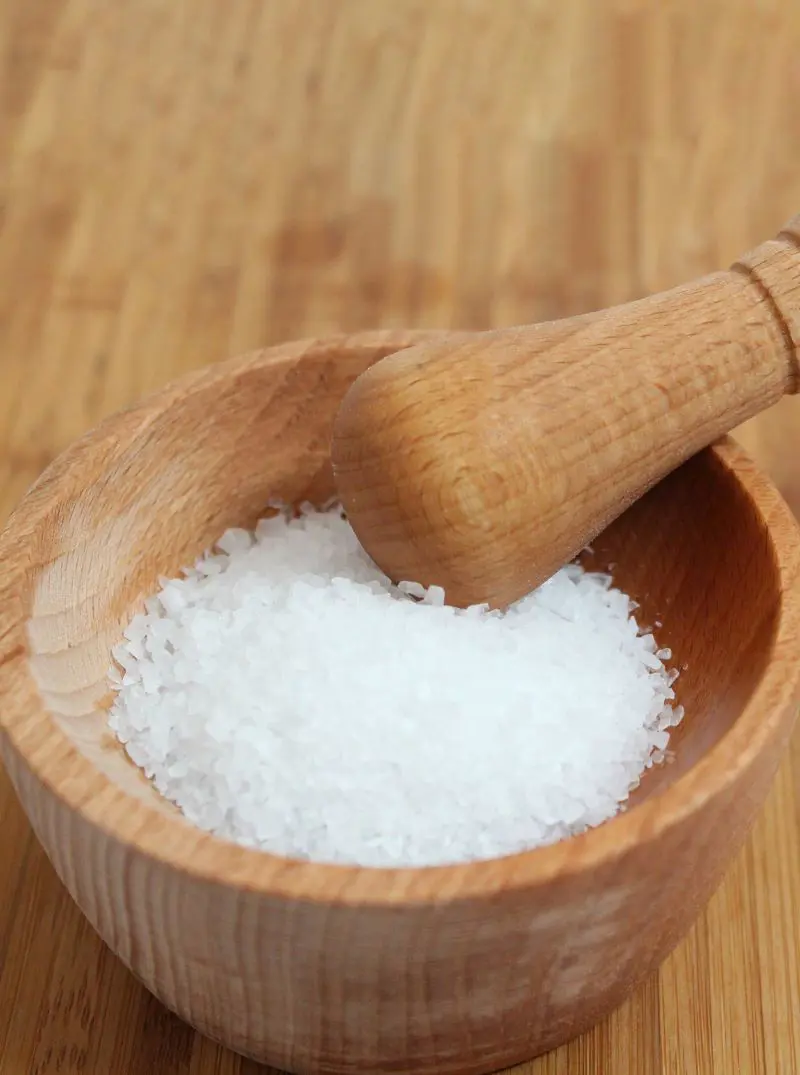
Salt is essential in caramelizing onions as it helps to draw out moisture, which speeds up the cooking process and intensifies the flavor. It also enhances the sweetness of the onions, creating a well-rounded taste.
A generous pinch of salt is typically added at the beginning of the cooking process to ensure even seasoning.
Sugar (Optional)
While onions are naturally sweet, adding a small amount of sugar can accelerate the caramelization process and deepen the sweetness. This is especially useful if you prefer a richer, sweeter flavor. Granulated white sugar is commonly used, but alternatives like brown sugar can also add a subtle hint of molasses.
Red Wine Vinegar, Balsamic Vinegar or Wine (Optional)
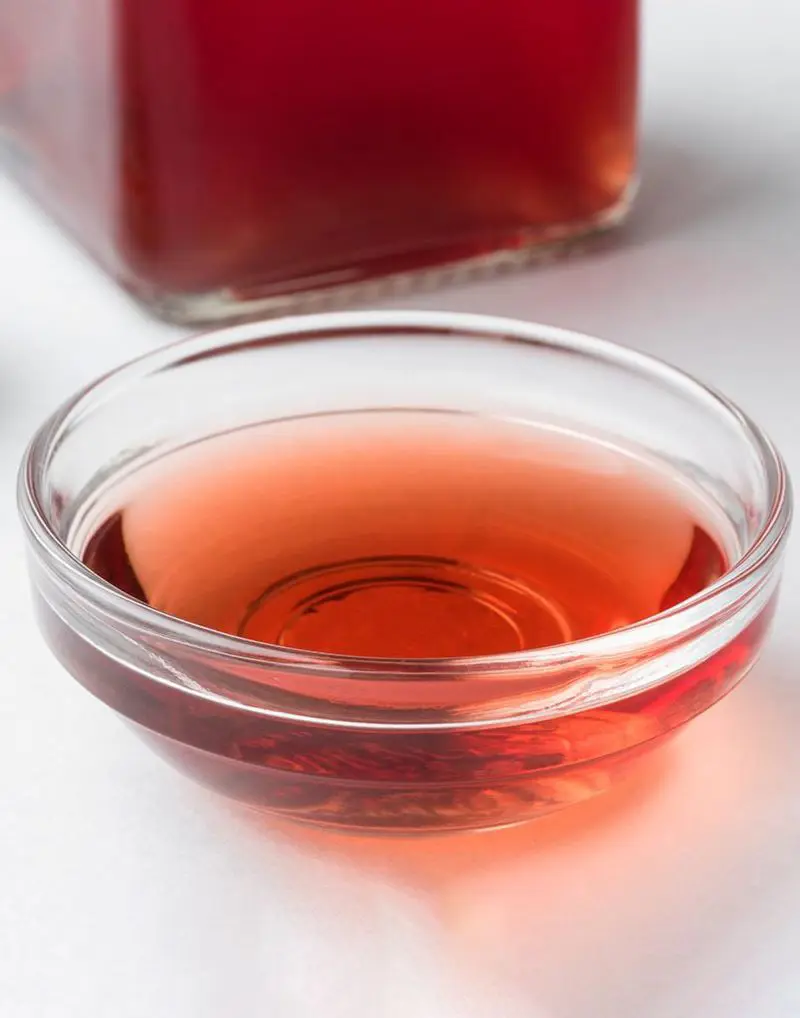
When caramelizing onions, deglazing with a splash of red wine vinegar, balsamic vinegar, or wine helps lift the flavorful bits that cling to the bottom of the pan. Red wine vinegar introduces a sharp, tangy note that cuts through the sweetness, balancing the onions' rich flavor.
Balsamic vinegar imparts a deep, complex sweetness with a hint of acidity. Wine adds depth and a subtle fruity nuance, enhancing the overall taste profile. Alternatives for deglazing include chicken or vegetable stock, port wine, bourbon, apple juice, and cider.
Each option complements the caramelized onions in its own unique way, depending on your flavor preference.
Equipment
To caramelize onions, you'll need a few key pieces of equipment to ensure the process is efficient and the results are perfect:
- Skillet or Frying Pan: A wide, heavy-bottomed skillet is ideal for even cooking. Cast iron or stainless steel skillets work well.
- Sharp Knife: To slice the onions thinly and uniformly.
- Cutting Board: For safely slicing the onions.
- Wooden Spoon or Silicone Spatula: For stirring the onions and preventing sticking or burning.
- Lid (Optional): Covering the pan can help speed up the cooking process and retain moisture, though it can also make the onions a bit softer.
- Timer: To keep track of cooking time, as caramelizing onions takes a while.
- Heat-Resistant Bowl: For holding the onions if you need to remove them from the pan temporarily or if you need to catch any juices that might spill.
With these tools, you'll be well-equipped to caramelize onions to perfection, creating a sweet, rich, and flavorful addition to your dishes.
How To Caramelize Onions On the Stovetop
Ingredients
- 2-3 large onions (yellow, white, or red, depending on your preference)
- 3-4 tablespoons of olive oil or butter (or a combination of both)
- 1/2 teaspoon of salt (optional, to help draw out moisture)
- 1/2 teaspoon of sugar (optional)
- Red wine vinegar, balsamic vinegar, wine, water, or broth (as needed, to deglaze the pan)
Instructions
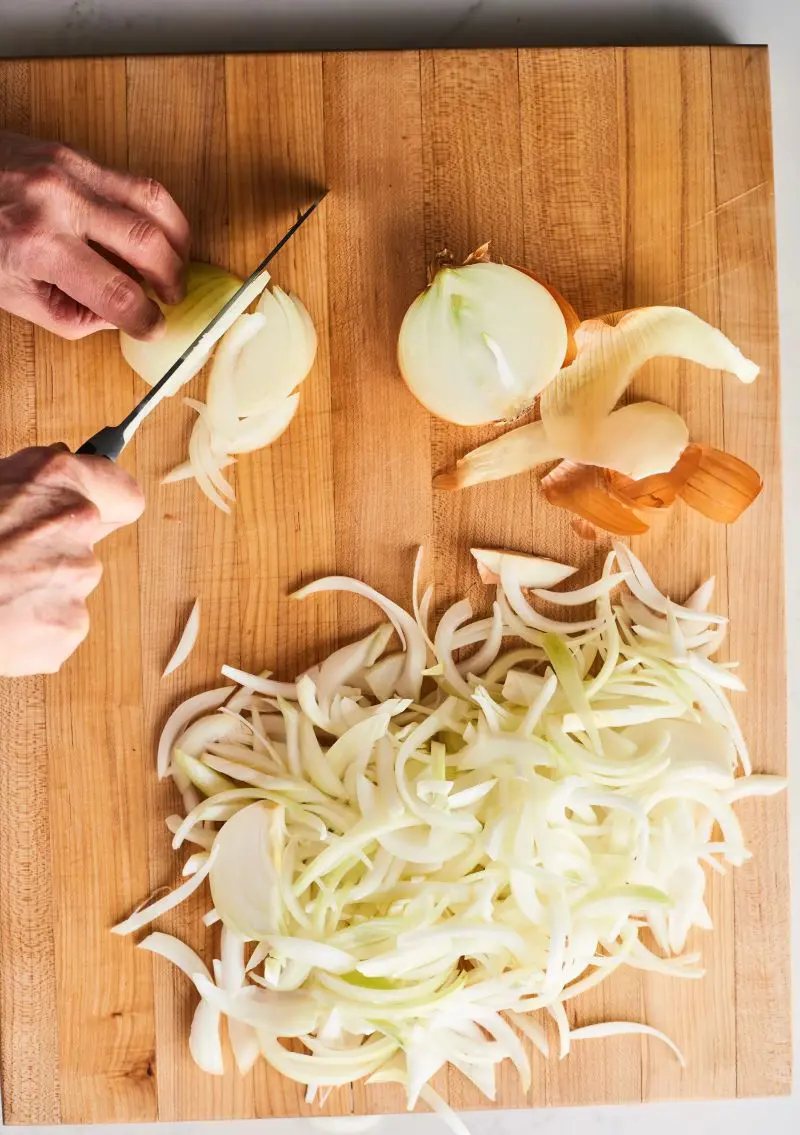
Prepare the Onions
Peel the onions and cut off the ends. Slice the onions in half from root to tip, then lay each half flat on the cutting board. Slice the onions into thin, even slices, about 1/8 to 1/4 inch thick. The thickness of the slices will affect the cooking time; thinner slices will cook faster.
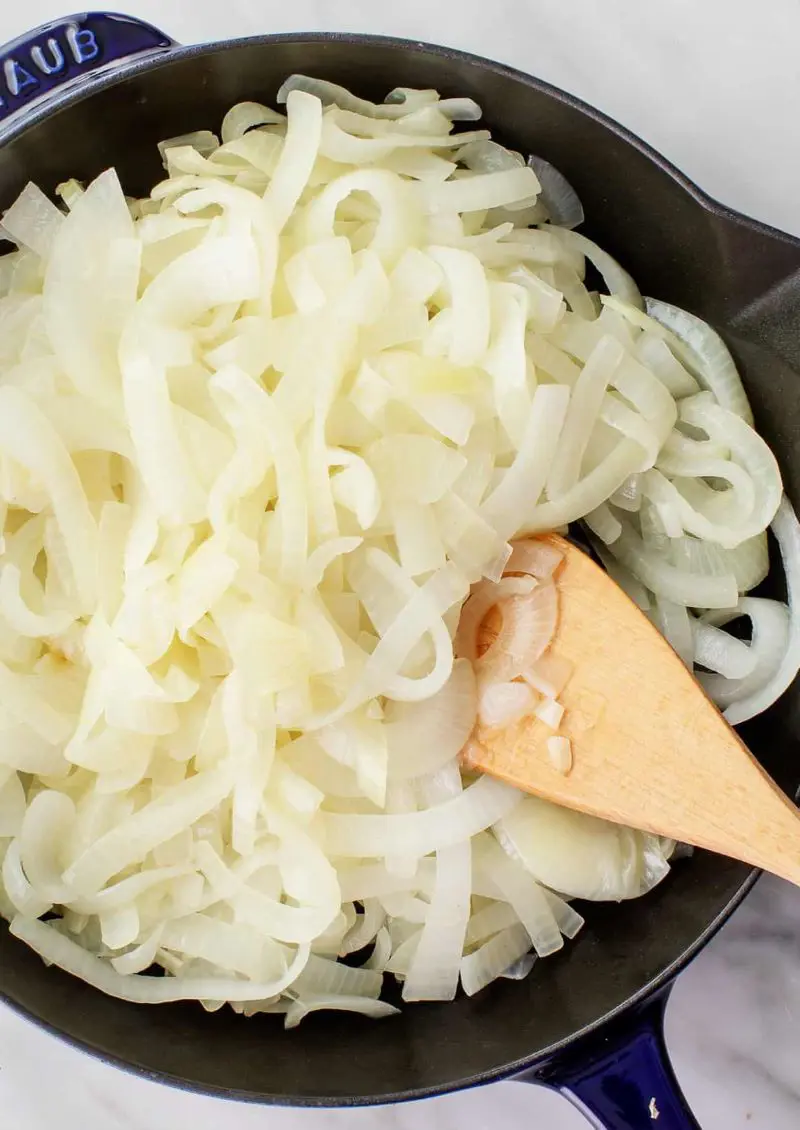
Heat the Pan and Add the Onion
Place your skillet or saute pan over medium heat. Add the olive oil or butter (or a combination of both) to the pan. Let it heat up until the oil shimmers or the butter melts completely.
Add the sliced onions to the pan. Stir them gently to coat them evenly with the oil or butter. Spread them out in an even layer.
Cook the Onions
Cook the onions over medium heat, stirring occasionally, until they soften and begin to release their moisture. This stage normally takes about 10 minutes. Once the onions have softened, sprinkle them with salt. If desired, you can also add some sugar.
The salt helps draw out moisture, and the sugar aids in the caramelization process. Stir to combine.
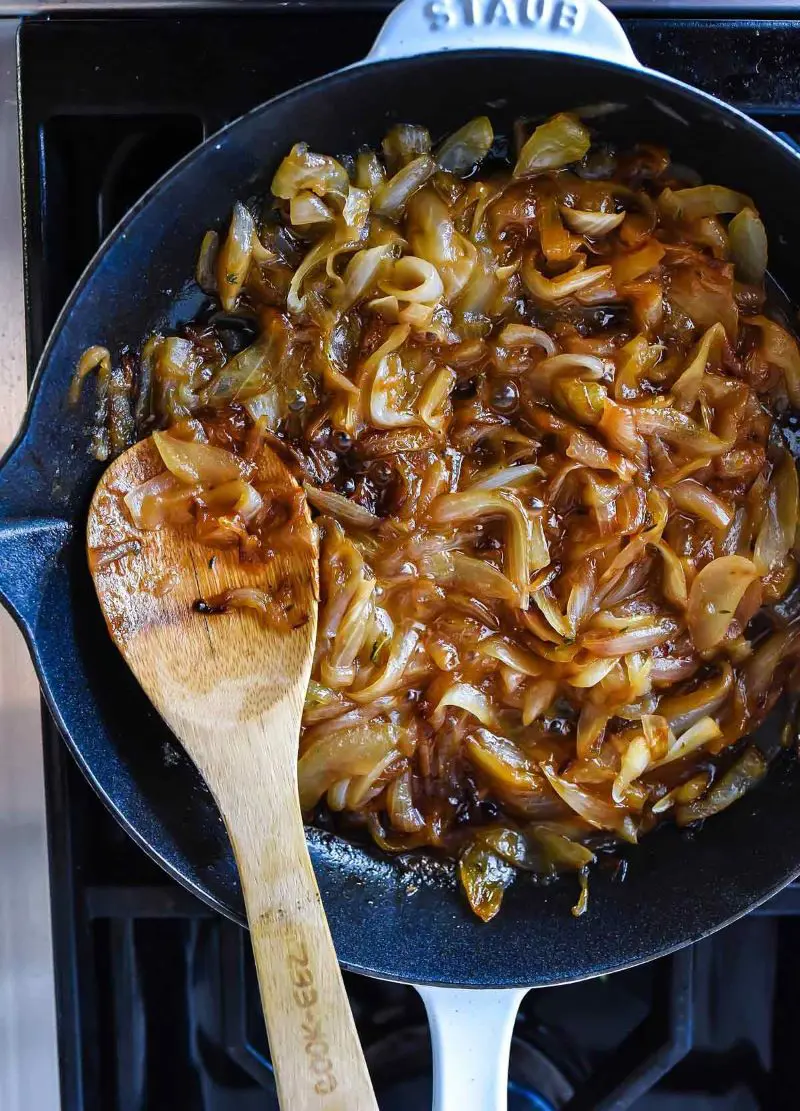
Caramelization Process
Reduce the heat to medium-low or low. This slow cooking is crucial for developing the deep, rich flavor of caramelized onions. Continue to cook, stirring occasionally. The onions will gradually turn from translucent to golden brown.
This process can take anywhere from 30 to 60 minutes, depending on the quantity and type of onions, and the desired level of caramelization. Stir every 5-10 minutes, more frequently as they begin to brown, to prevent sticking or burning.
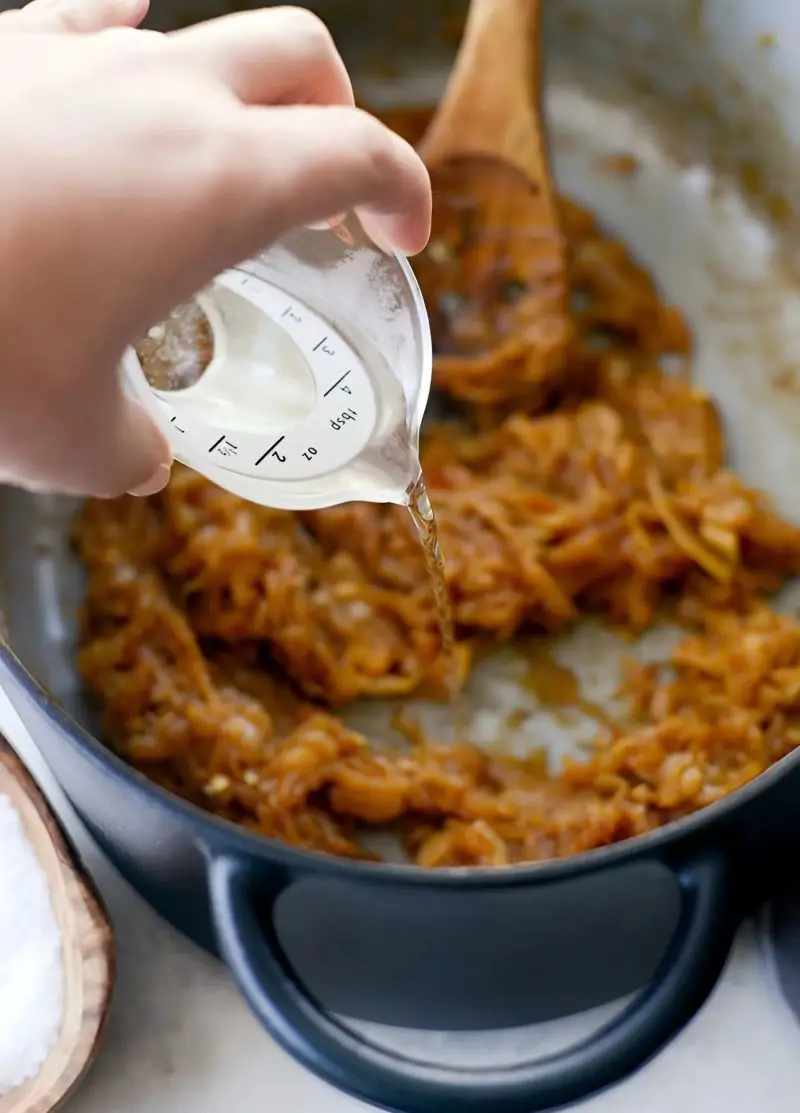
Deglaze the Pan (if needed)
If the onions start sticking to the pan or develop a brown residue on the bottom, you can deglaze the pan. Use a tablespoon of red wine vinegar, balsamic vinegar, or wine to loosen the browned bits. Alternatively, you can add a splash of water or broth.
Each option adds a unique flavor to the onions. Deglazing not only helps lift the tasty, sticky bits but also enhances the overall flavor of your caramelized onions.
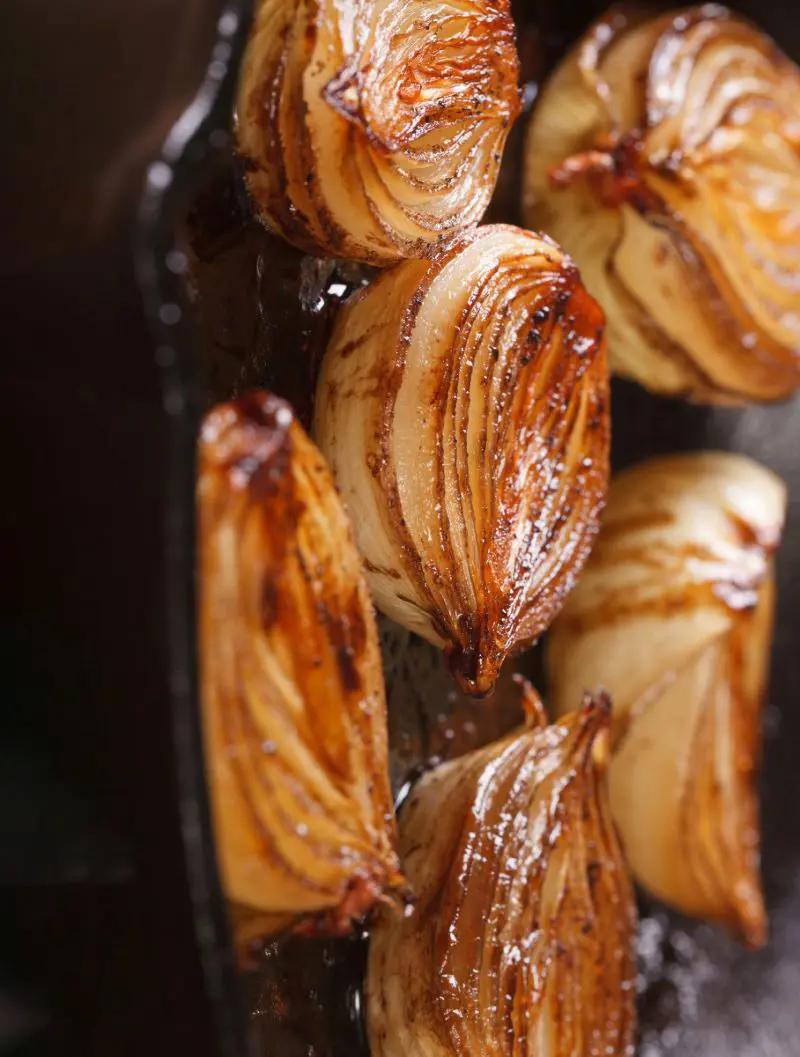
Achieving Desired Color and Flavor
Continue cooking the onions until they reach a deep, golden-brown color and have a sweet, rich flavor. Taste and adjust seasoning if needed. The onions should be soft, and jammy, and have reduced significantly in volume.
Finish and Store
Once the onions are caramelized to your liking, remove them from the heat. Use them immediately, or let them cool and store them in an airtight container in the refrigerator for up to a week. They can also be frozen for longer storage.
Other Ways to Caramelize Onions
Slow Cooker Method
Caramelizing onions in a slow cooker is a practical and effective hands-off approach. Simply slice the onions thinly and add them to the slow cooker with a small amount of oil or butter. Cook on low for 8-10 hours, stirring occasionally if possible, until the onions turn a rich golden brown and caramelize.
Season with salt and pepper, and optionally add brown sugar or balsamic vinegar, then stir well. If the onions are too juicy at this point, leave the lid slightly ajar. If not, keep the lid on. Cook for an additional 3-4 hours until the onions are deep golden brown, thick, and jam-like, with most of the liquid evaporated.
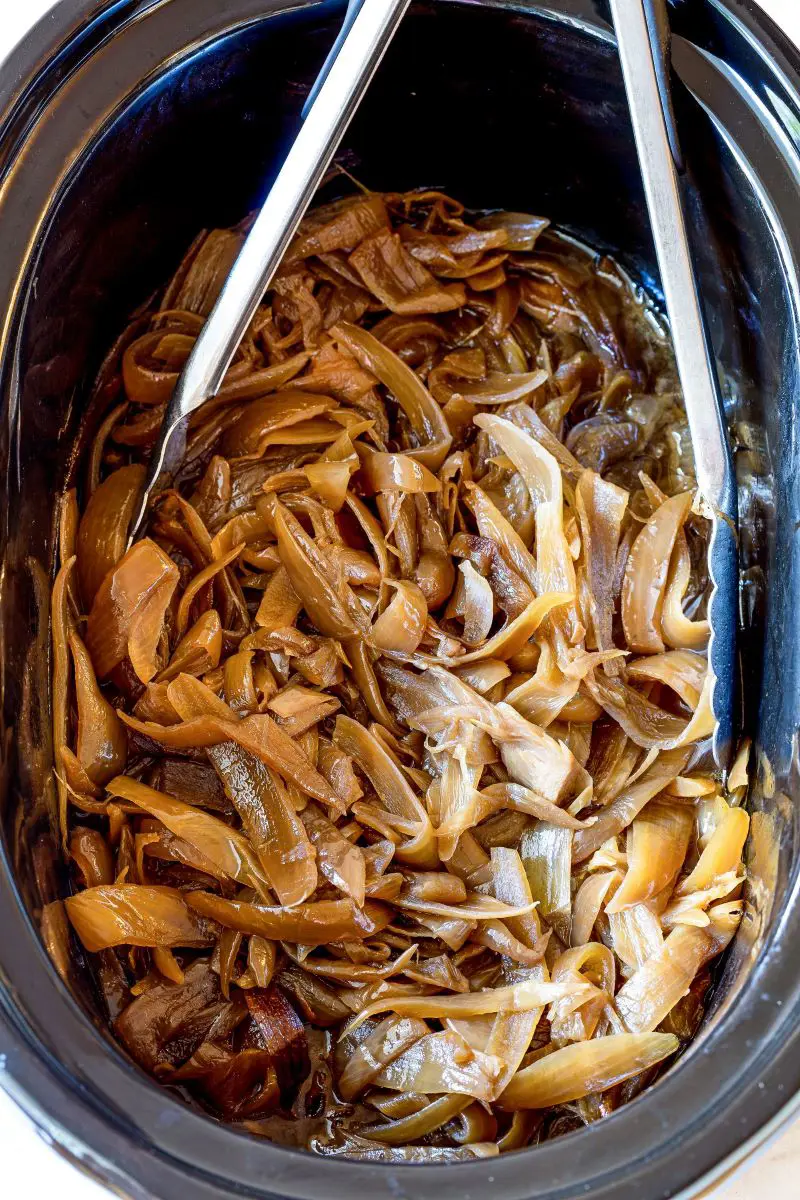
The long cooking time allows the onions' natural sugars to caramelize slowly and evenly, resulting in a rich, golden-brown color and complex flavor profile. This method is ideal for making large batches with minimal effort, making it perfect for meal prep or large gatherings.
Microwave Method
Caramelizing onions in the microwave is a quick and practical method, ideal for those who are short on time. Start by slicing the onions and placing them in a microwave-safe bowl. Add a small amount of butter or oil, a pinch of salt, and optionally a pinch of sugar.
Cover the bowl with a microwave-safe lid or plastic wrap, leaving a small vent for steam. Microwave on high for 5 minutes, then stir and continue microwaving in 2-minute intervals, stirring after each interval, until the onions are golden and tender, usually around 10-15 minutes total.
The results are less evenly caramelized compared to stovetop or slow cooker methods but still flavorful. The onions will have a sweet, savory taste with a tender texture. This method is ideal for small batches or quick preparations.
Caramelized Onions Recipe Tips
- Make the full recipe: If you plan to spend an hour or more caramelizing onions, you might as well prepare a large batch! They’ll stay good in the fridge for a week when kept in an airtight container, or you can freeze them for up to two months.
- Choose the right pan: Use a heavy-bottomed pan, like a cast iron or stainless steel skillet. A heavy pan helps distribute heat evenly and prevents burning.
- Turn up the heat at the end: If you want to deepen the caramelization, you can turn up the heat slightly for the last few minutes. Just be careful to stir frequently to avoid burning.
- Be patient: Caramelizing onions is a slow process. Rushing it by increasing the heat can cause burning instead of proper caramelization. Patience is key.
- Avoid overcrowding: Cook the onions in batches if necessary. Overcrowding the pan can cause the onions to steam rather than caramelize.
- Understand the stages: Onions will first turn translucent, then golden, and finally a deep brown color. Each stage brings different flavors and textures.
Serving Caramelized Onions
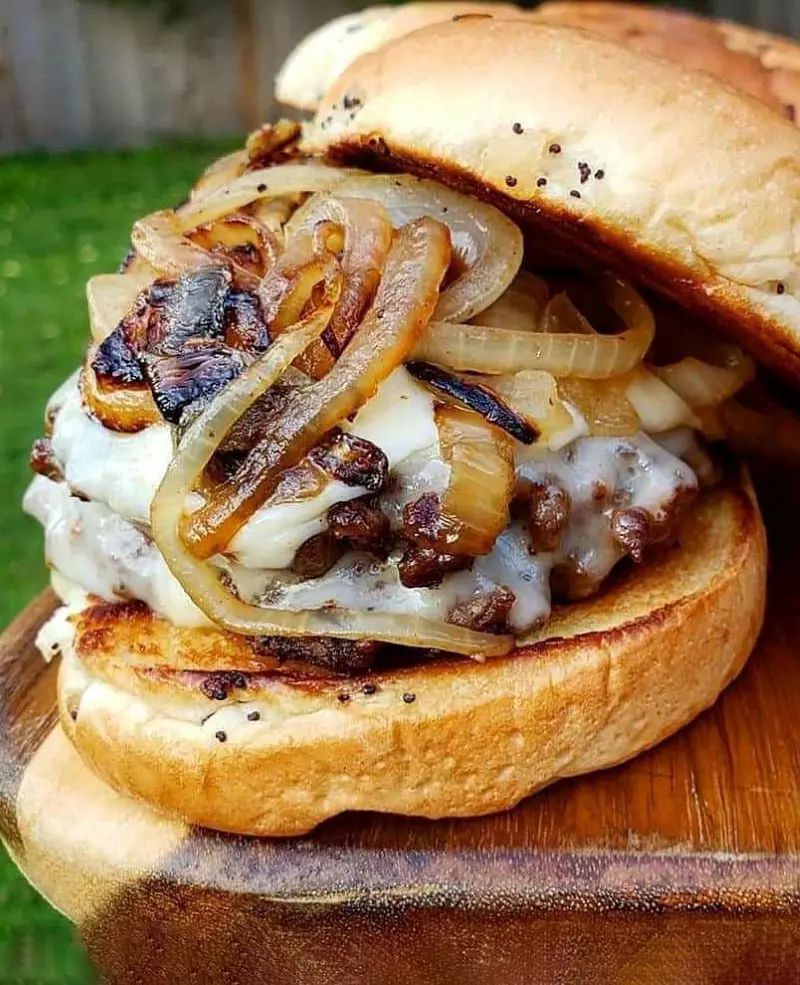
Caramelized onions add a rich, sweet, and savory flavor to many dishes. Here are some serving ideas:
- Burgers and Sandwiches: Top burgers, grilled cheese sandwiches, or paninis with caramelized onions for extra flavor and texture.
- Pizzas: Use them as a topping on pizzas, especially with combinations like prosciutto, goat cheese, or mushrooms.
- Tarts and Quiches: Incorporate caramelized onions into savory tarts or quiches, pairing them with ingredients like spinach, bacon, or cheese.
- Steaks and Roasts: Serve them alongside grilled steaks, roasted meats, or even as a topping for meatloaf.
- Salads: Add caramelized onions to salads for a sweet touch. They work well in salads with ingredients like mixed greens, blue cheese, or walnuts.
- Soups: Use them as a garnish for soups, particularly those with a rich base like French onion soup.
- Mashed Potatoes: Mix caramelized onions into mashed potatoes for added depth of flavor.
- Flatbreads: Top flatbreads with caramelized onions, cheese, and herbs for a delicious appetizer or snack.
- Baked Goods: Fold them into savory scones or bread for a unique twist.
Storage
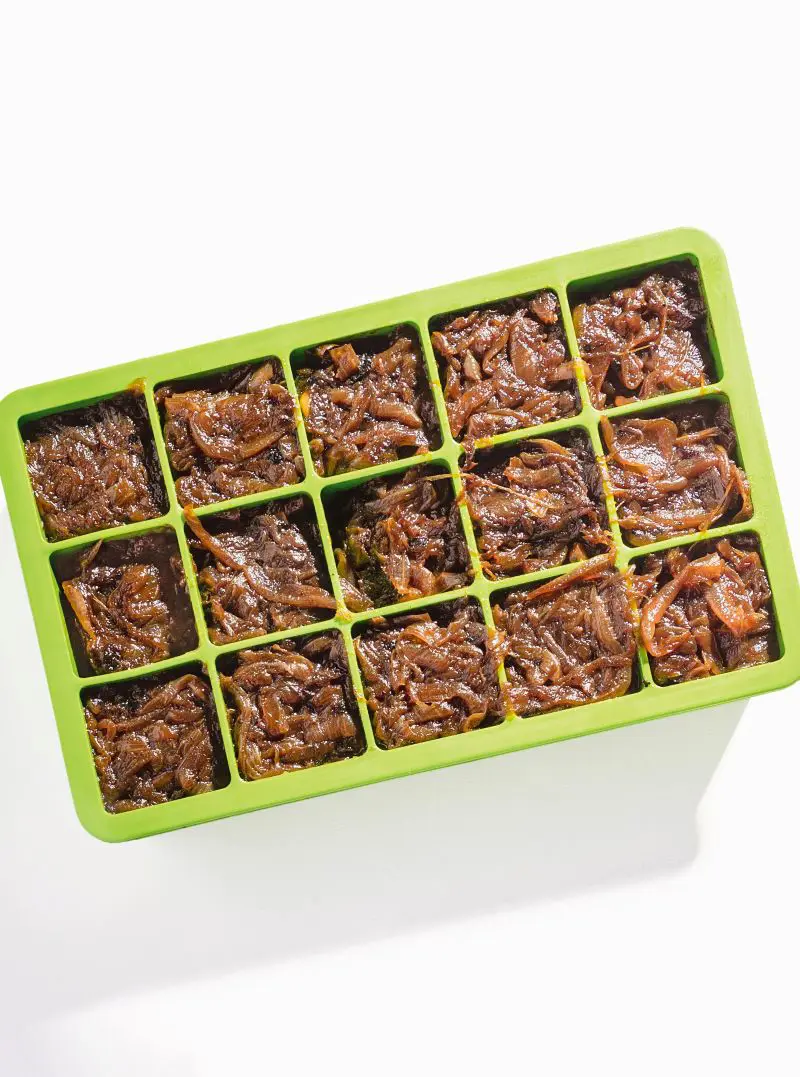
To store caramelized onions, first let them cool to room temperature to prevent condensation and sogginess. Once cooled, transfer the onions to an airtight container to preserve their flavor and avoid absorbing other odors from the fridge.
Store the container in the refrigerator, where the onions will stay fresh for about 1 to 2 weeks. For longer storage, you can freeze caramelized onions by placing them in a freezer-safe container or resealable plastic bag; they will keep for up to 3 months.
When you're ready to use them, thaw the onions in the refrigerator overnight or reheat directly from the freezer, either in a skillet over low heat or in the microwave, stirring frequently to ensure even heating.
FAQ
Should You Use Oil or Butter for Caramelizing Onions?
You can use either oil or butter for caramelizing onions. Oil has a higher smoke point, so it’s less likely to burn, while butter adds a rich, nutty flavor. For the best results, you might use a mix of both: oil to prevent burning and butter to enhance flavor.
Should Onions Be Caramelized on Low or High Heat?
Onions should be caramelized on low heat. Cooking them slowly allows the natural sugars to gradually turn golden and sweet without burning. High heat can cause the onions to brown too quickly on the outside while remaining raw inside. Patience is key for perfectly caramelized onions.
How Long Does It Take to Caramelize Onions?
Caramelizing onions usually takes about 30 to 45 minutes on low heat. The exact time can vary depending on the thickness of the slices and the heat level. Stir occasionally to ensure even cooking and prevent burning.
Should you deglaze?
Yes, deglazing can be a great idea. After caramelizing onions, you can add a small amount of liquid, like wine or broth, to the pan to loosen and incorporate the browned bits stuck to the bottom. This adds extra flavor to your dish.
Recent posts
Recipe
Recipe
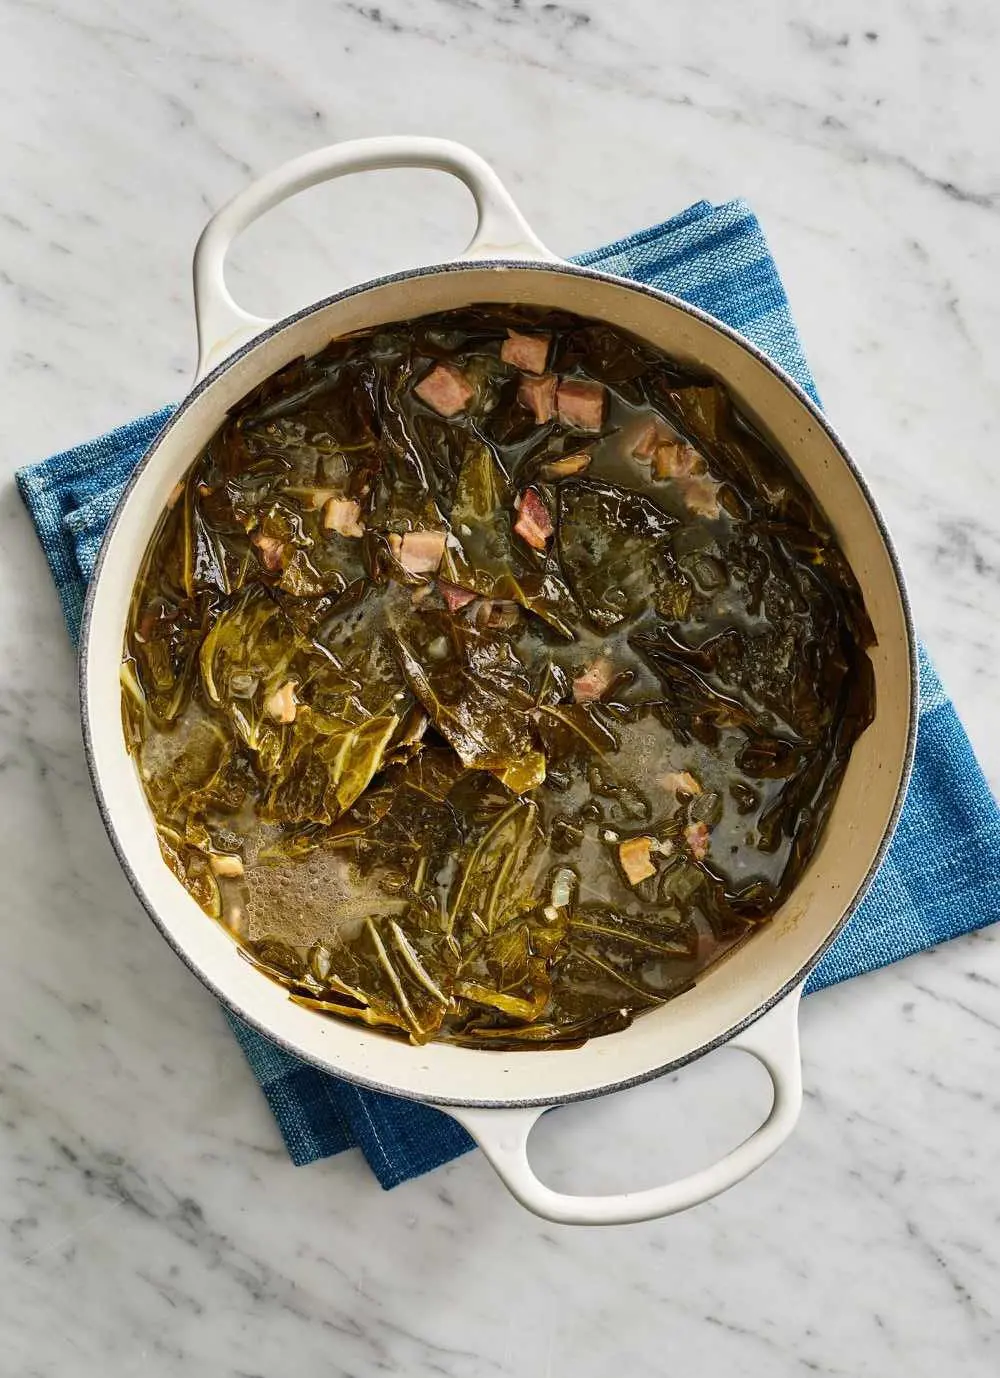
How To Cook Southern-Style Collard Greens
Cooking Southern-style collard greens is a beloved tradition of Southern cuisine, known for its comforting, rich, and savory flavors. These greens are slowly simmered until tender, resulting in a hearty and flavorful dish. Often prepared with smoked ...
Recipe
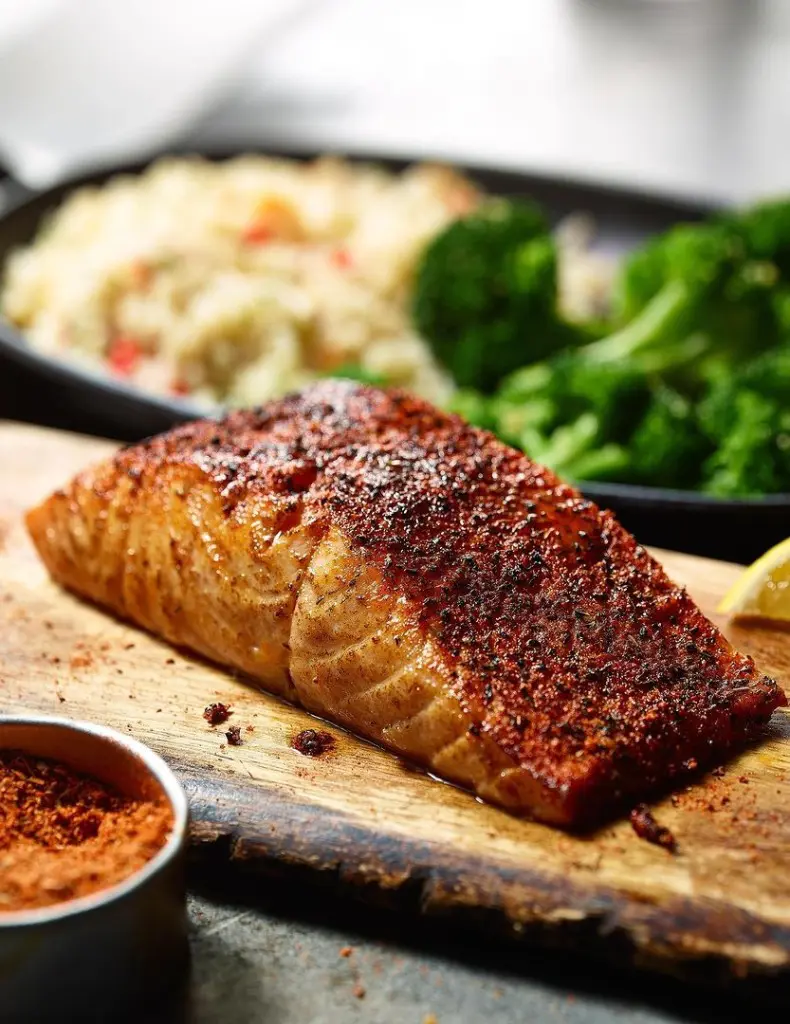
Best Herbs and Spices For Seasoning Salmon
Salmon is the culinary chameleon of the seafood world. It goes with everything, from light summer salads to comforting pasta dishes. Need a fast salmon fillet sizzling and without complicated recipes? The secret lies in perfect seasoning. With the ri...
Recipe
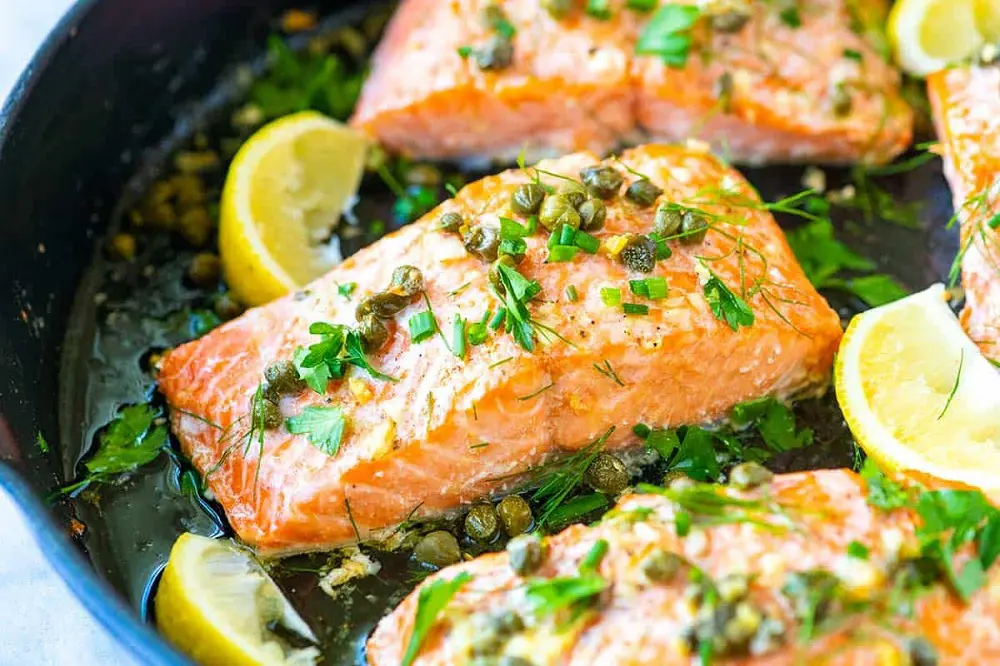
Garlic Butter Salmon Recipe
Garlic butter salmon is not only a culinary delight but also a nutritional powerhouse, offering a delectable blend of flavors and numerous health benefits. This dish combines the rich taste of salmon with the aromatic and savory notes of garlic ...

Recipe
A Comprehensive Guide To Perfect Salmon Gravlax
Salmon gravlax is a luxurious, flavorful dish that captures the essence of Scandinavian culinary tradition. This delicacy, made by curing salmon with a mixture of salt, sugar, and dill, is surprisingly easy to prepare at home. In this comprehensive g...
Recipe
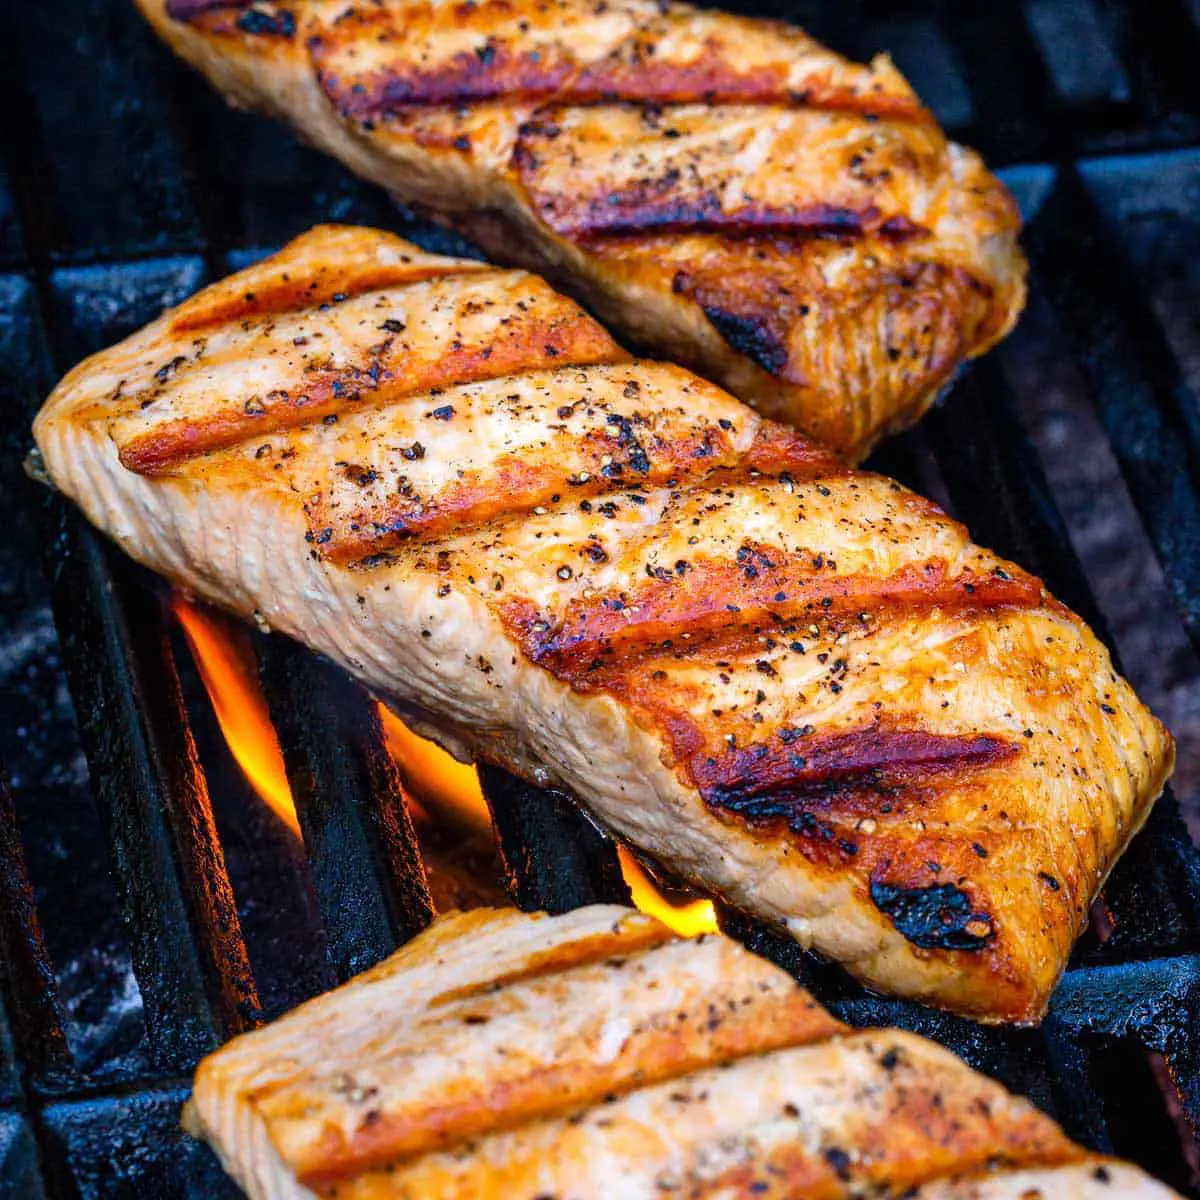
14 Grilled Salmon Recipes For Perfect Summer Dinner
Salmon is possibly the most reliable dinner option for many households throughout America. So, we are confident that you already have an array of salmon-baked recipes on your corner. What we have brought for you today are grilled salmon recipes so yo...

Recipe
Best Smoked Salmon Appetizer Recipe
Smoked salmon appetizers are a timeless and elegant choice for any gathering. These offer a perfect balance of rich, smoky flavors and fresh, vibrant ingredients. These have become synonymous with casual brunches as well as upscale gatherings because...