How To Perfectly Cook Shrimp

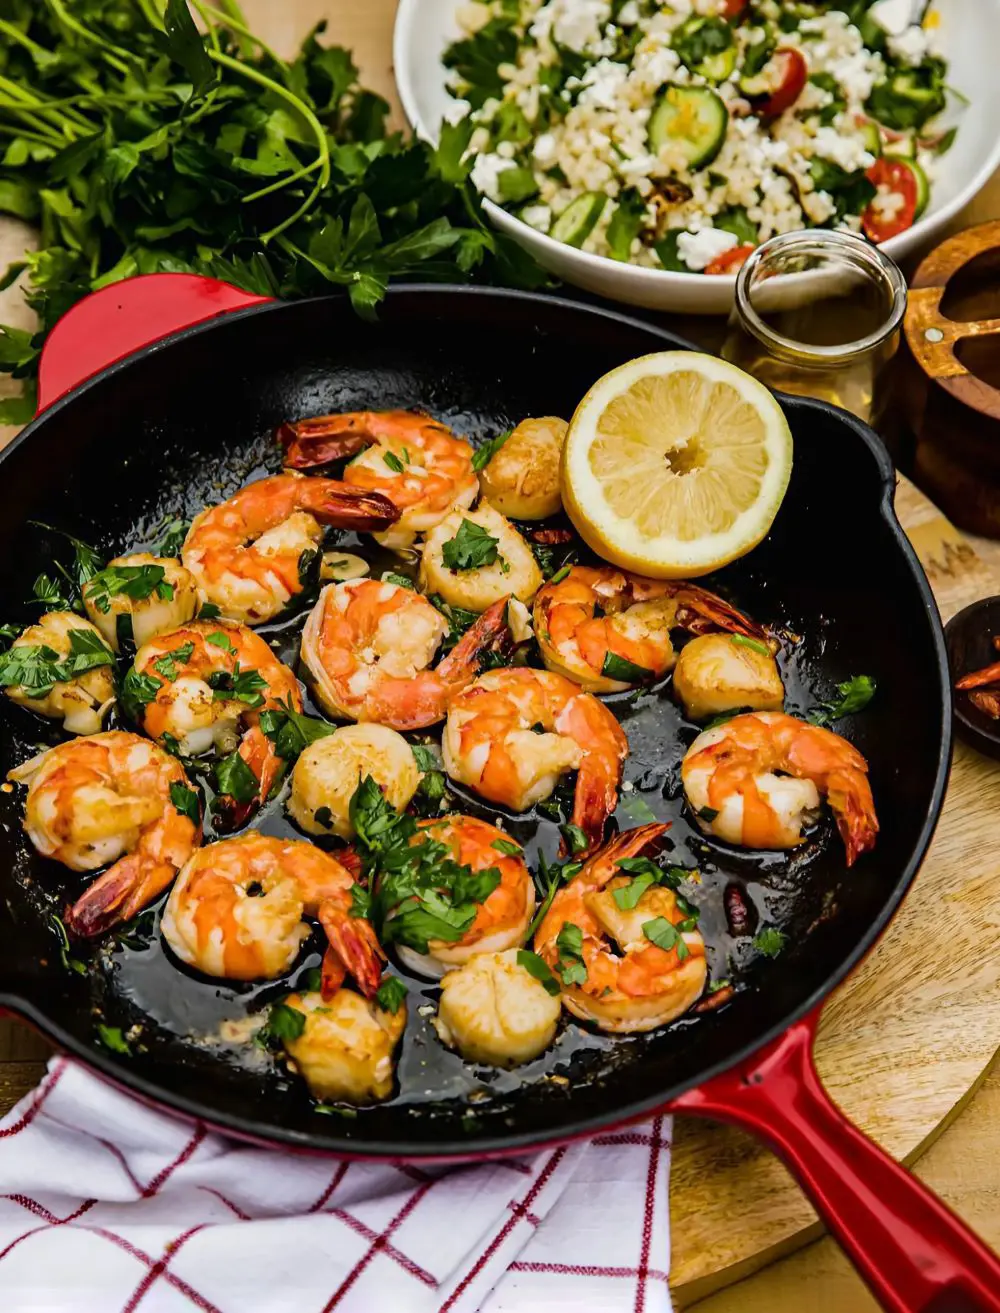
Nothing beats a beautifully organized shrimp platter. Let’s be honest -cooking shrimp isn’t something we do often. So when we finally do, we want it to turn out perfectly.
There’s no need to panic, as this seafood is simple to make and requires minimum elements, yet it’s quite tasty. Even if you have frozen shrimp, a plate of sauteed shrimp can be at the desk in minutes.
What You'll Need to Cook Shrimp
Shrimp
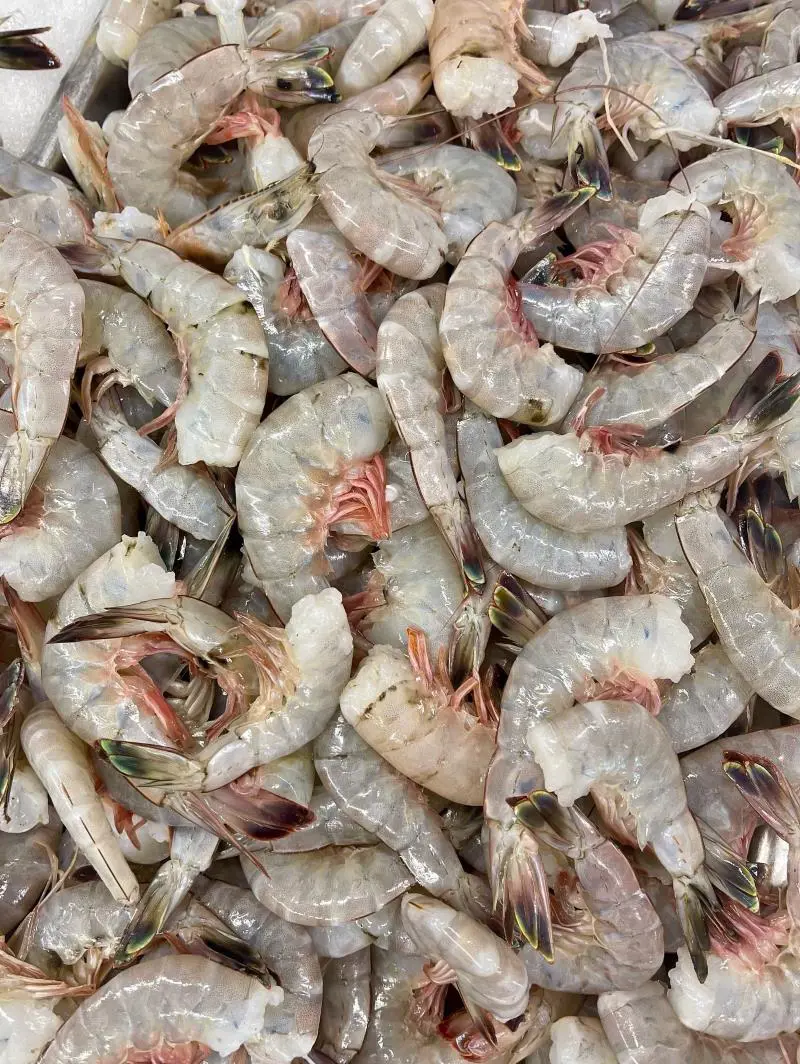
They are the star of this recipe. Before you shop for shrimp, you need to recognize a few things:
- Fresh vs Frozen: Shrimp have likely been frozen at some point except you purchase them straight from a boat. Even the clean shrimp at seafood counters are generally thawed for display. If you purchase thawed shrimp, cook them within 2 days and do not refreeze. Opt for frozen, as you can thaw only the quantity you need.
- Peeled or unpeeled: This recipe works for each. But if you are short of time, use shrimp that’s already peeled and deveined. It also speeds up meal prep.
- Size: When you buy groceries, you’ll see that shrimp are sold by size: jumbo, large, and small. They are also offered by the number of shrimp per pound. Every size works, but cooking times will vary -smaller shrimp need a shorter time, while larger ones require a bit longer.
Olive Oil or Butter
Olive oil gives a lighter, smoother taste. Butter adds a rich creamy taste to the dish. They offer a foundation for browning and help prevent the shrimp from sticking to the pan.
You can choose either one or simply combine both.
Salt and Pepper
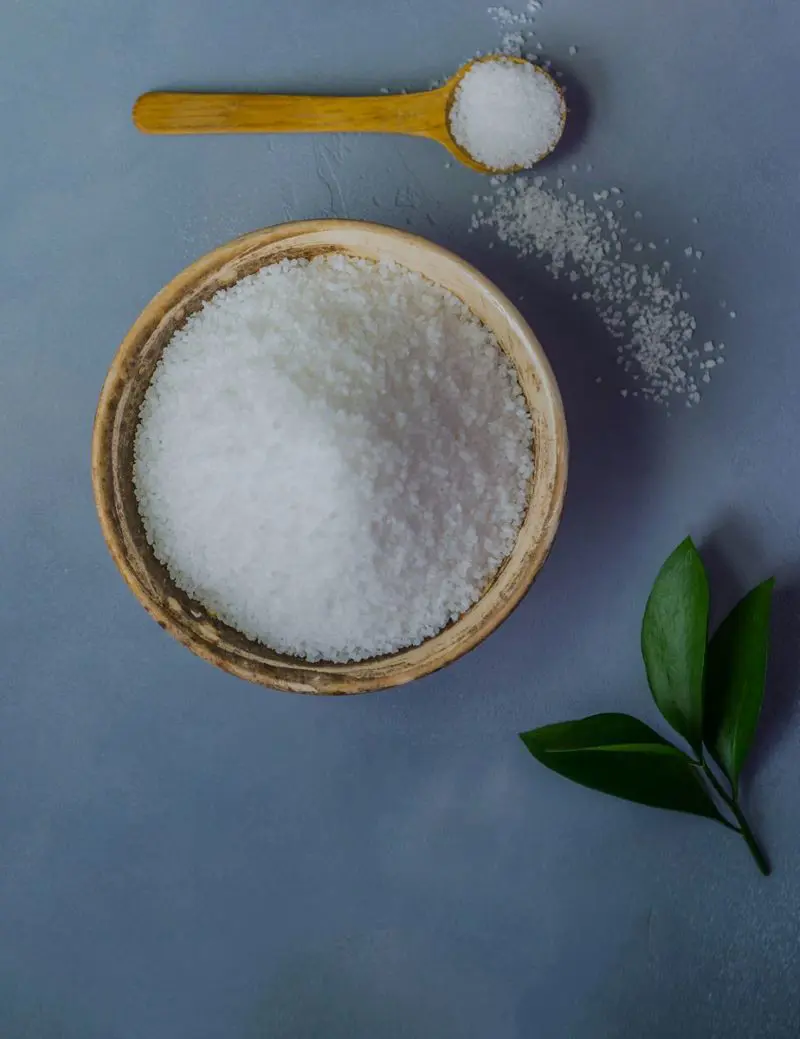
These are the basic seasonings to enhance the natural flavors of shrimp. Salt brings out the seafood's richness and balances various flavors.
Pepper adds mild heat and complexity to the dish. Use freshly ground black pepper for best results.
Lemon Juice
Just a squeeze of lemon is enough to brighten the dish. Its citrusy tang presents a fresh contrast to the richness of butter and oil.
This is optional, however there’s no reason not to try it!
Garlic
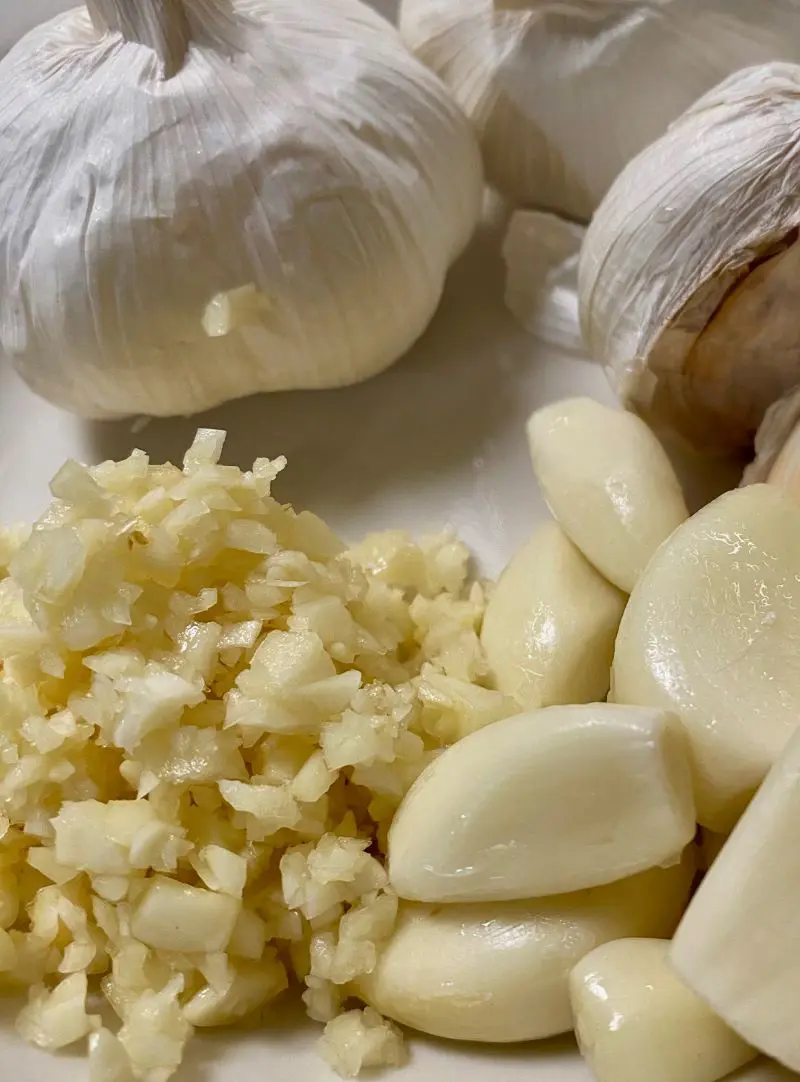
Love that strong, aromatic garlicky flavor? Just add some minced garlic, and you'll get depth and complexity in your dish. This enhances the savory profile of the seafood.
For a subtler flavor, use garlic powder. It’s a great alternative to fresh garlic.
Optional Seasonings
Do not limit yourself to basic elements when there is so much to explore. Think of adding paprika for a sweet and slightly smoky taste. Want some heat? Chili flakes come to the rescue.
Adjust these seasonings to your taste preference. After all, you are making it, so make it yours!
Don’t forget the herbs! They add a pop of color and a mild herbal flavor. Parsley is a great option, or you can use cilantro—or omit it for a simpler approach.
Tools Required
- Non-stick skillet or frying pan
- Tongs or spatula
- Measuring spoons
- Bowl
- Paper towels
- Knife and cutting board
How To Cook Shrimp on the Stove
Ingredients
- 1 pound raw large shrimp (shelled, deveined, and cleaned)
- 1 tablespoon olive oil or unsalted butter (or a combination of both)
- 1/2 teaspoon of salt, or to taste
- 1/4 teaspoon of black pepper, or to taste
- 1 teaspoon garlic powder (optional)
- 2 cloves of garlic, minced (optional)
- 1 tablespoon of fresh lemon juice (optional)
- Optional herbs or spices (paprika, parsley, chili flake)
Instructions
Step 1: Initial Prepping
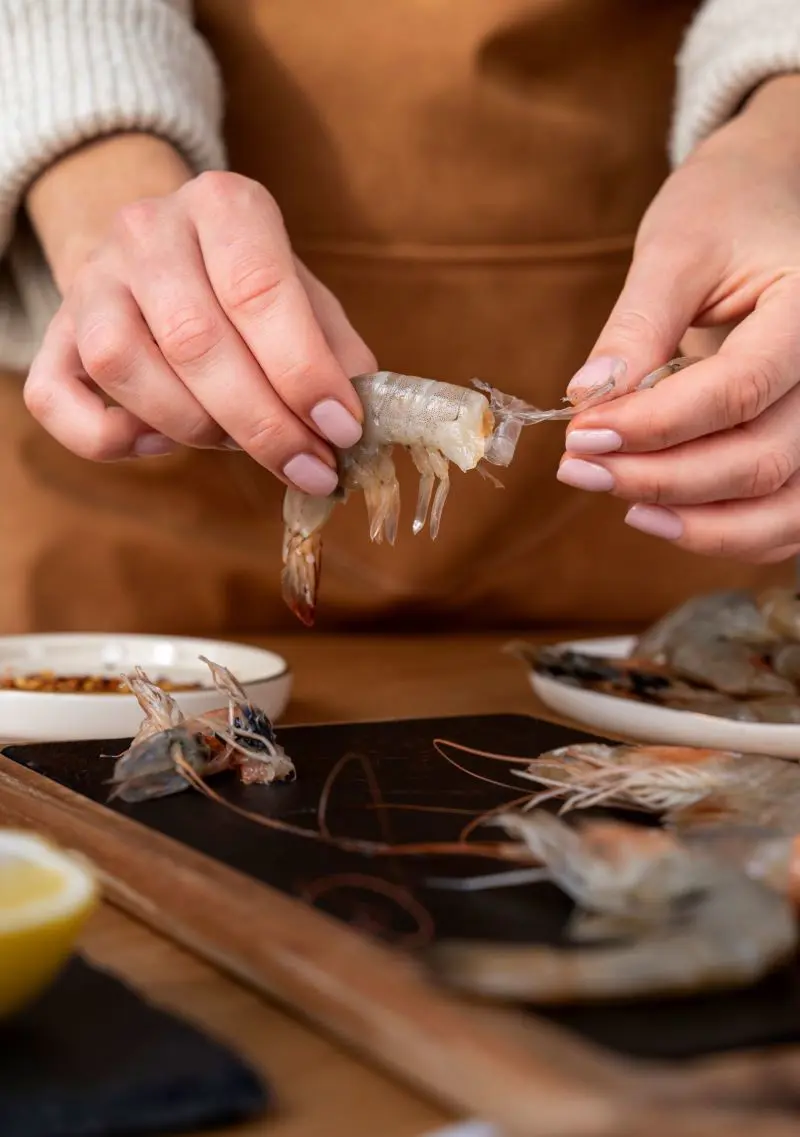
If your shrimp aren’t cleaned, lightly peel off the shell and dispose of the legs. Then, make a shallow cut along the back of each shrimp and pull out the darkish vein.
Rinse them under cold water to eliminate any final bits. After you’re done take a paper towel and pat them dry.
If you’re using frozen shrimp you need to thaw shrimp properly before cleaning. This is important to make sure that the seafood cooks uniformly and develops a pleasant crispy sear instead of steaming.
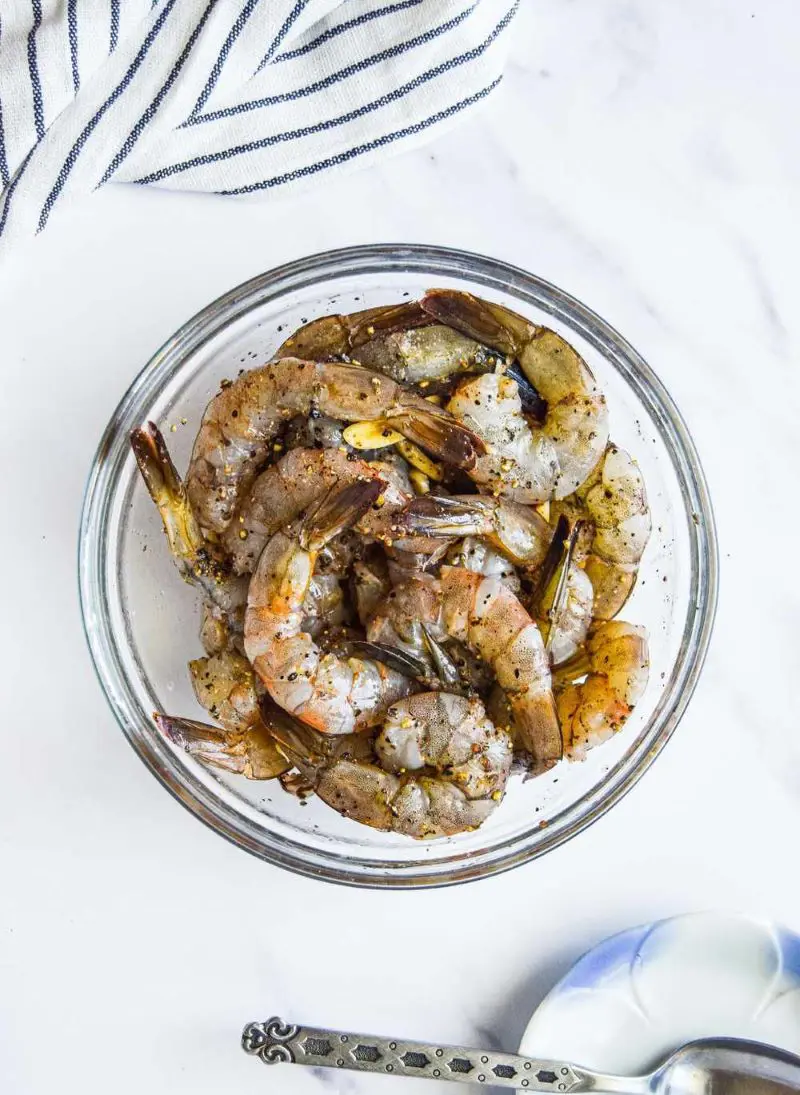
Step 2: Season
Time to spice things up! Season your shrimp with simply salt and pepper for a conventional taste. You are free to feature other spices to your liking.
Want to take it up a notch? Take a bowl and blend olive oil, lemon juice, garlic and selected herbs. Then marinate the shrimp for 15 to 30 mins before cooking.
Step 3: Heat the Pan
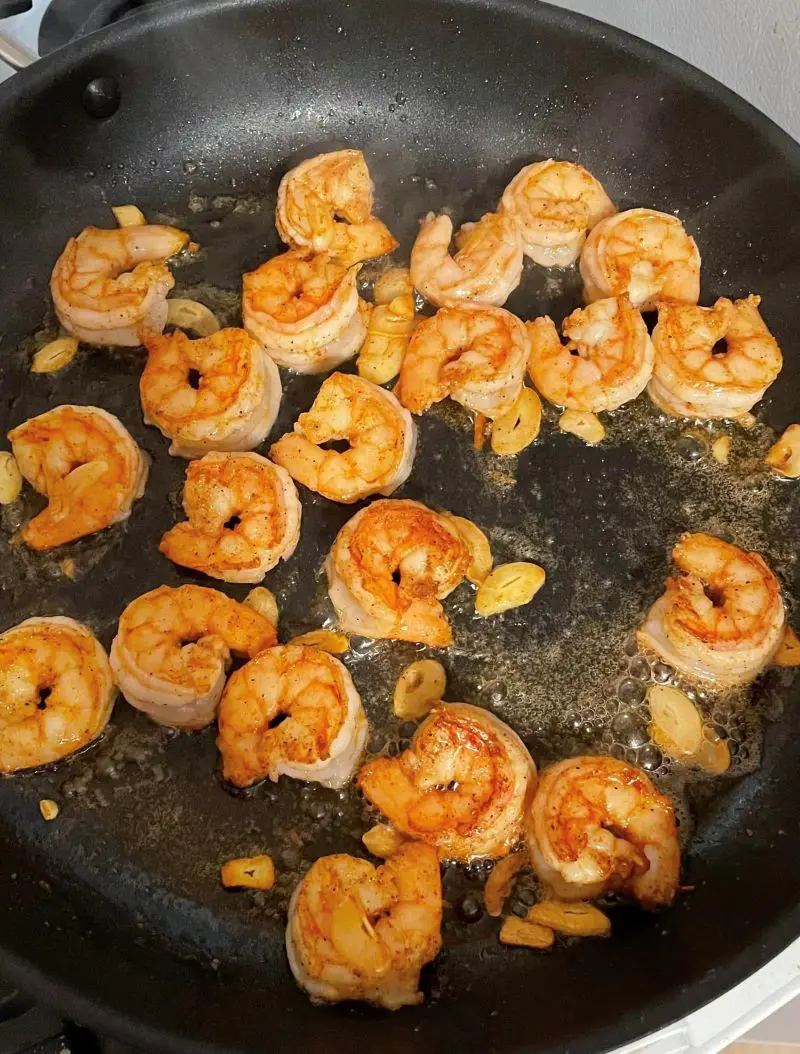
Grab your favorite big skillet – non-stick or cast iron will work. Set up the heat to medium-high. Then add a tablespoon of olive oil or butter or both.
When it begins to shimmer or soften, you're ready to go! But be cautious not to let it smoke.
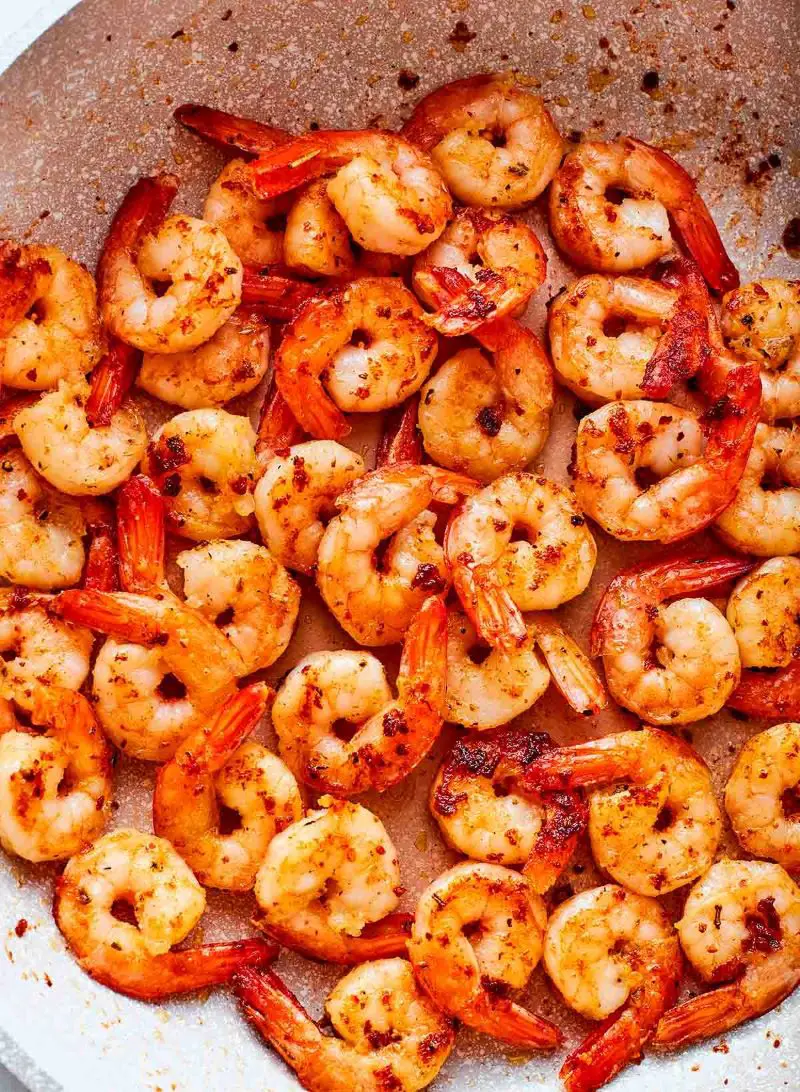
Step 4: Cook the Shrimp
Once the oil is hot, lay your seasoned shrimp within the pan in a single layer. Avoid overcrowding! Cook in batches if necessary, as crowding can lead to steaming as opposed to searing.
Cook the shrimp for 2-3 mins on each side. Watch for them to turn pink and opaque, and for the tails to curl.
Keep a watch fixed on them to ensure they don’t overcook, as shrimp can become tough if left inside the pan too long.
Step 5: Finishing Touches
In the final minute, toss in a few minced garlic, lemon zest, or a splash of white wine for an aromatic end. Want to boost? Drizzle on some paprika, parsley, or red pepper flakes.
A squeeze of clean lemon juice at the end will make the dish shine!
Step 6: Serve
Finally, transfer these tasty delights using tongs and serve onto a separate plate. Serve garnished with a few twigs of herbs or few wedges of lemon for style.
Now, dig in and enjoy your stovetop shrimp!
How Long to Cook Shrimp On Stove
The size of shrimp significantly affects cooking time. Smaller shrimp, often labeled as "tiny" or "small," cook quickly because they have less mass.
They generally take about 2-3 minutes total, with 1-1.5 minutes on each side.
Larger shrimp, such as "large" or "extra-large," need more time due to their greater thickness and volume. They normally require approximately 4-6 mins total, with 2-3 mins on every side.
If you cook them too long, they may become tough and rubbery.
Adjust the cooking time based on the size of the shrimp. This will ensure they are cooked properly while remaining tender and juicy.
How to Know When Shrimp is Done
If you notice, raw shrimp are usually translucent and gray. To determine if they are cooked, they should turn pink or light orange and have a slightly opaque, white center.
They should also form a C shape as they cook. If the shrimp are nonetheless translucent or have a grayish color, they want extra time. Be cautious now not to overcook them.
The secret is to remove them from warm as soon as they emerge as opaque and firm to touch.
Variations and Dietary Adaptations
This recipe is wonderful as is, but there are usually modifications you can make to fulfill your personal preferences or desires.
Different Seasonings
Change the taste of your shrimp by way of using specific flavorings. Try Cajun or Creole seasoning for a spicy kick. For a fresh flavor upload some lemon zest and herbs like thyme or rosemary.
Sauce Variations
Try various sauces to make your shrimp even more scrumptious. Here’s one idea: melt some butter then add minced garlic. Spice lover? Include a splash of hot sauce or a pinch of pepper flakes.
Stir a bit of cream or coconut milk at last to make it creamy.
Dietary Adaptations
You can easily adapt your shrimp dish to fit different diets. For a low-carb or keto option, use only herbs and spices without any sweet sauces or breading.
Check that all sauces and seasonings are gluten-free.
For a dairy-free version, replace butter with olive oil and use coconut milk instead of cream. These changes keep your dish tasty and suitable for everyone.
Tips for Stovetop Shrimp Cooking
- Temperature Control: Monitor the heat carefully. If the shrimp are browning too speedy, decrease the warmth to prevent burning.
- Uniform Size: Use shrimp of comparable length to make certain they cook at the same rate.
- Timing: Shrimp cooks quickly. Stay attentive and prepared to turn and remove them from the pan as soon as they are done.
- Purchase Prepared Shrimp: Save time via buying already shelled, deveined, and wiped-clean shrimp from the shop. If not available, prepare them yourself.
- Avoid Overcrowding: Give the shrimp lots of room in the pan to make sure they sear rather than steam.
- Don’t Overcook: As soon as the shrimp flip red and opaque, they’re ready.
- Minimal Disturbance: Spread the shrimp out and leave them undisturbed till it’s time to turn them. Flip once and don’t touch again until done.
How To Store Cooked Shrimp
You may have accidentally cooked more shrimp than needed or intentionally made extra to enjoy later. In either case, they can be stored.
First, allow the shrimp to cool to room temperature. This helps prevent condensation and sogginess. Then, put them in a tightly sealed field or a resealable plastic bag.
Store the container in the fridge, and the shrimp will stay fresh for up to 3 to 4 days.
When you’re ready to eat the shrimp, reheat them gently in a pan over low heat or inside the microwave. Add a touch of oil or butter if needed to keep them moist.
Serving Suggestions
Over Rice
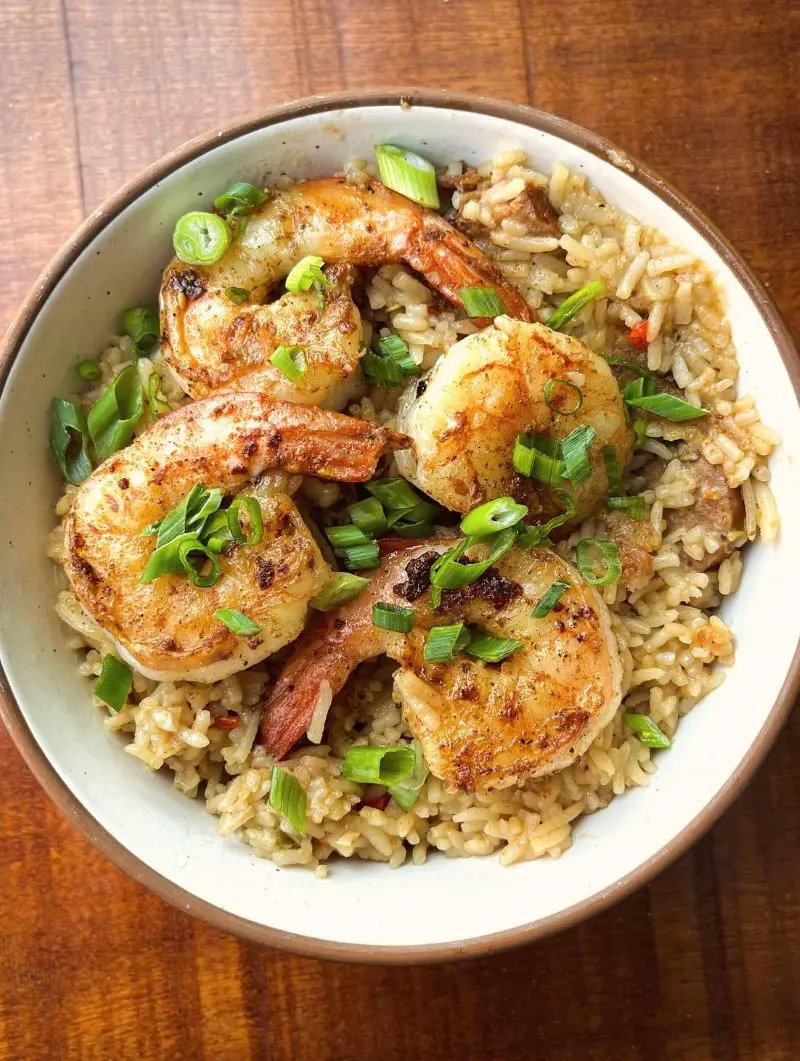
Shrimp pairs perfectly with rice. Imagine juicy shrimp served over a bed of steamed rice (brown or white). The moderate flavor of the rice complements the seasoned shrimp beautifully.
Plus, it’s not time-consuming! Shrimp are ready in minutes, and cooking brown rice is simple!
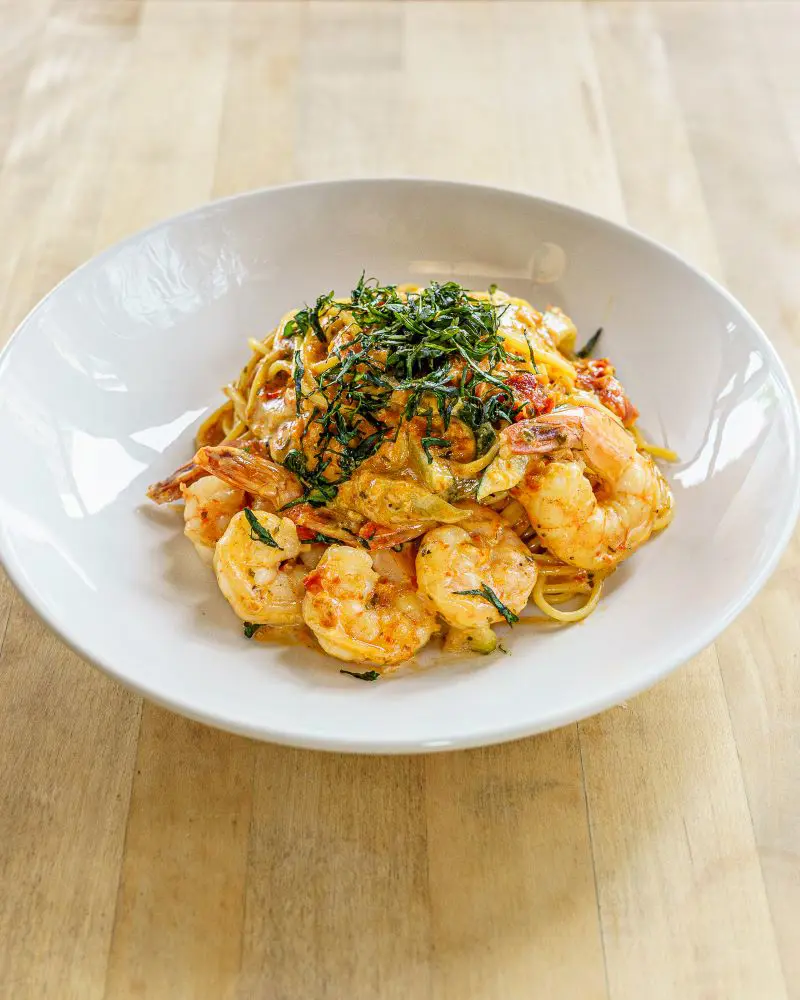
With Pasta
Pasta + Shrimp = a fantastic combo! Try making these smooth pasta dinners and toss in some cooked shrimp for a memorable treat.
Then, upload a light sauce, such as garlic and olive oil or a creamy Alfredo, to coat the pasta and shrimp nicely. Your hearty and pleasing meal will be geared up in no time!
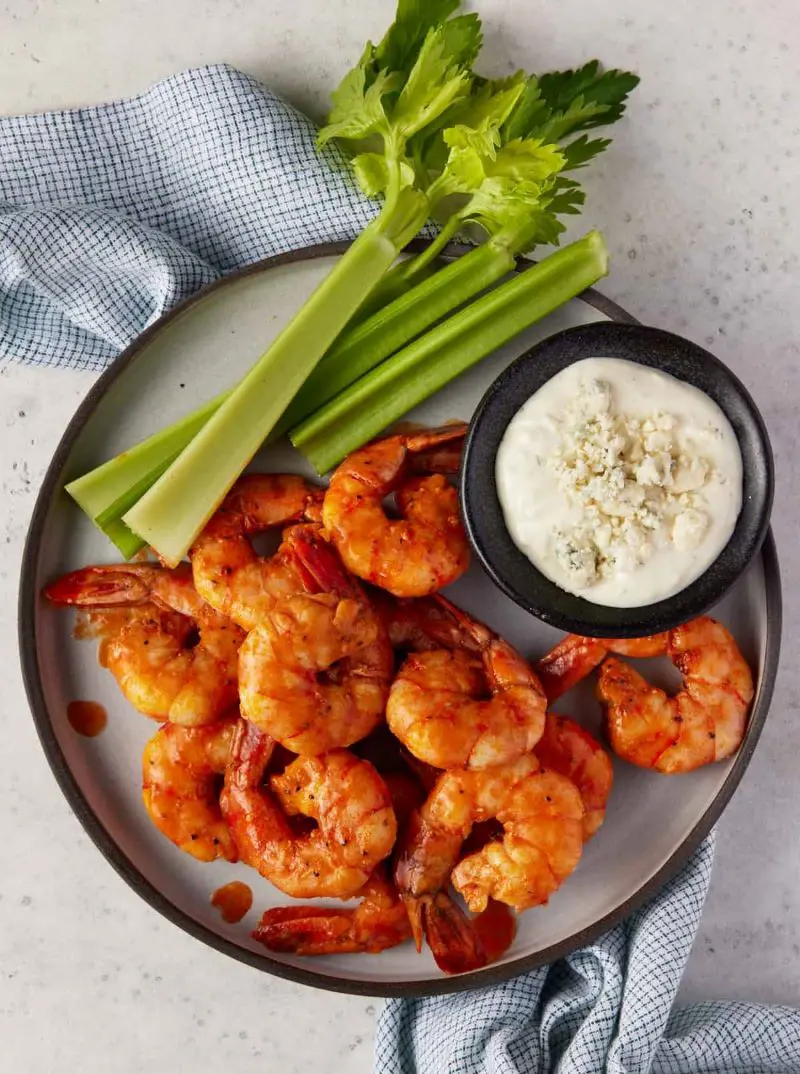
In Tacos
You can definitely enjoy shrimp in tacos! Just fill warm tortillas with those juicy shrimp and add your favorite toppings. Chopped tomatoes, lettuce, or a dollop of sour cream—something you like.
Finish it off with a squeeze of lemon on top. Oh, so tasty
On Salad
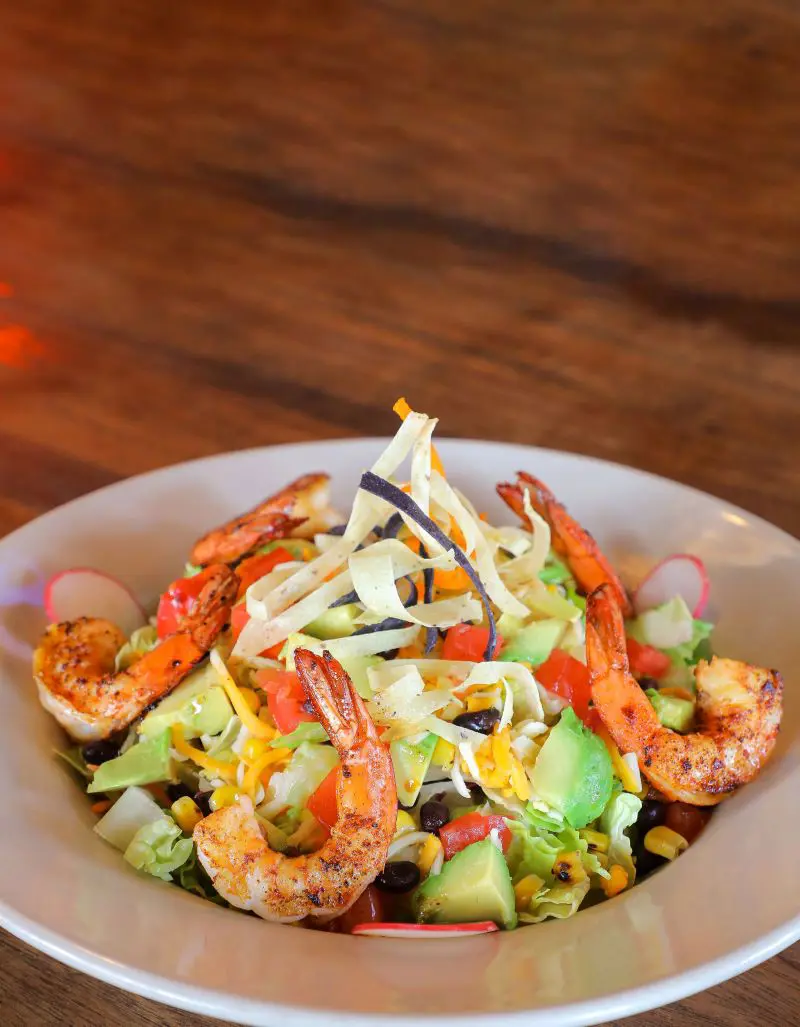
Top a refreshing green salad with the shrimp for a mild and healthy choice. Use a mixture of your favorite veggies, cherry tomatoes, cucumber slices, and a vinaigrette dressing.
With Vegetables
Roasted or steamed vegetables both pair properly with shrimp. Their herbal sweetness enhances the savory shrimp, creating a colorful and flavorful plate.
This combination provides an amazing mix of protein and vitamins.
Recent posts
Recipe
Recipe
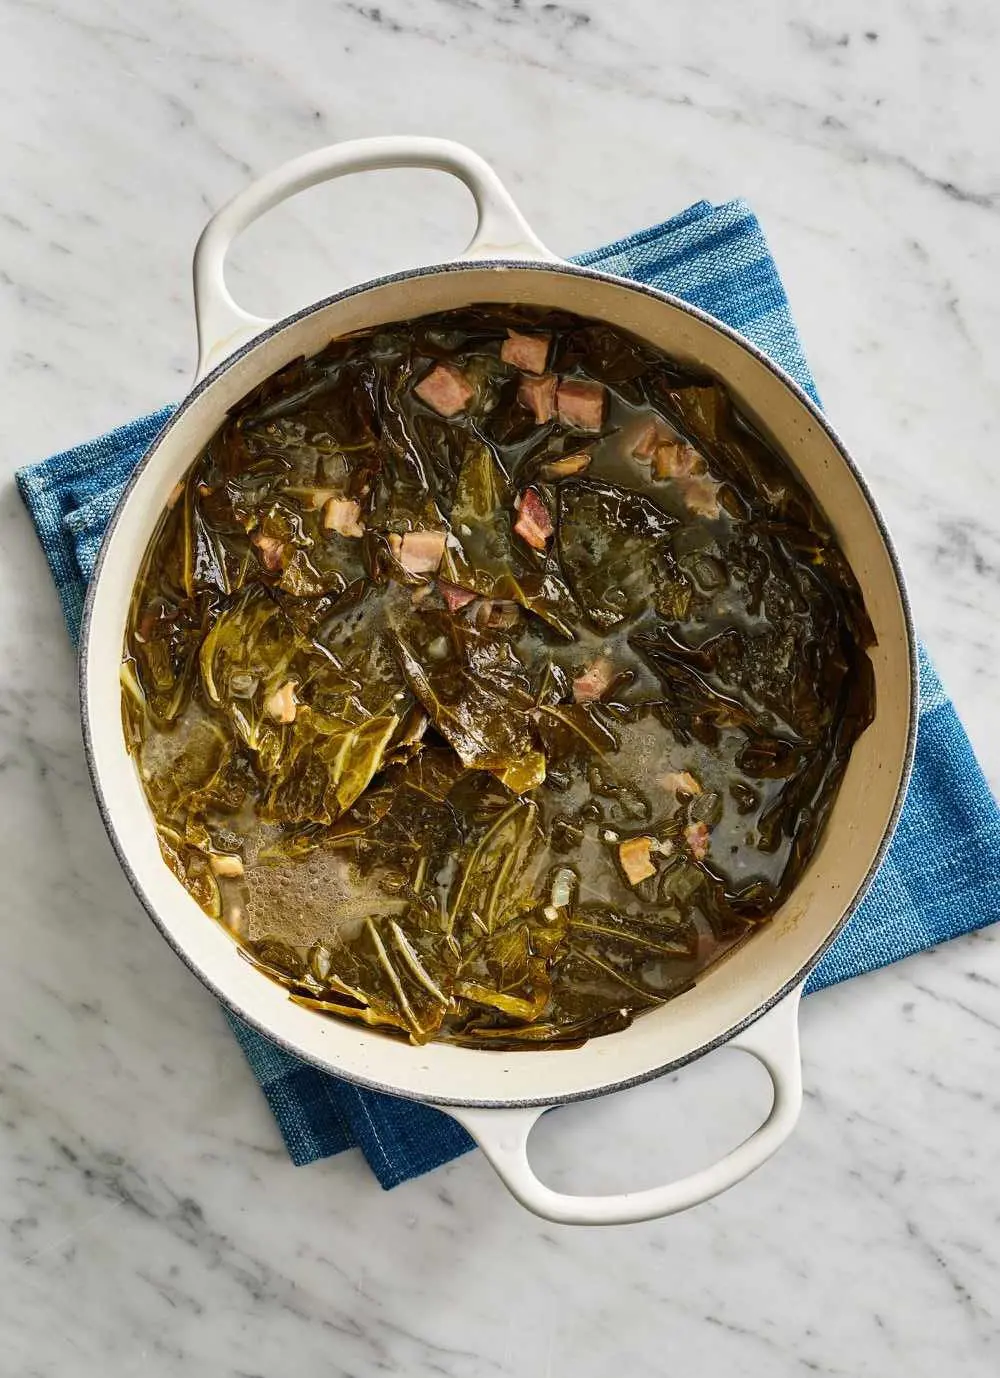
How To Cook Southern-Style Collard Greens
Cooking Southern-style collard greens is a beloved tradition of Southern cuisine, known for its comforting, rich, and savory flavors. These greens are slowly simmered until tender, resulting in a hearty and flavorful dish. Often prepared with smoked ...
Recipe
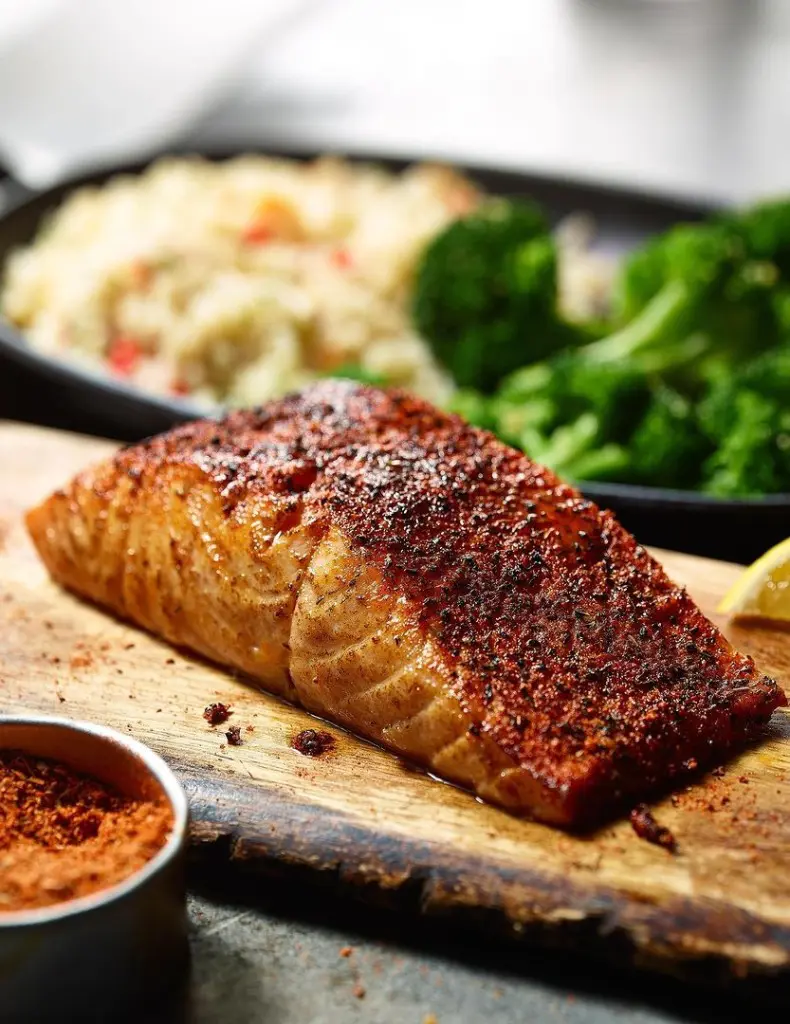
Best Herbs and Spices For Seasoning Salmon
Salmon is the culinary chameleon of the seafood world. It goes with everything, from light summer salads to comforting pasta dishes. Need a fast salmon fillet sizzling and without complicated recipes? The secret lies in perfect seasoning. With the ri...
Recipe
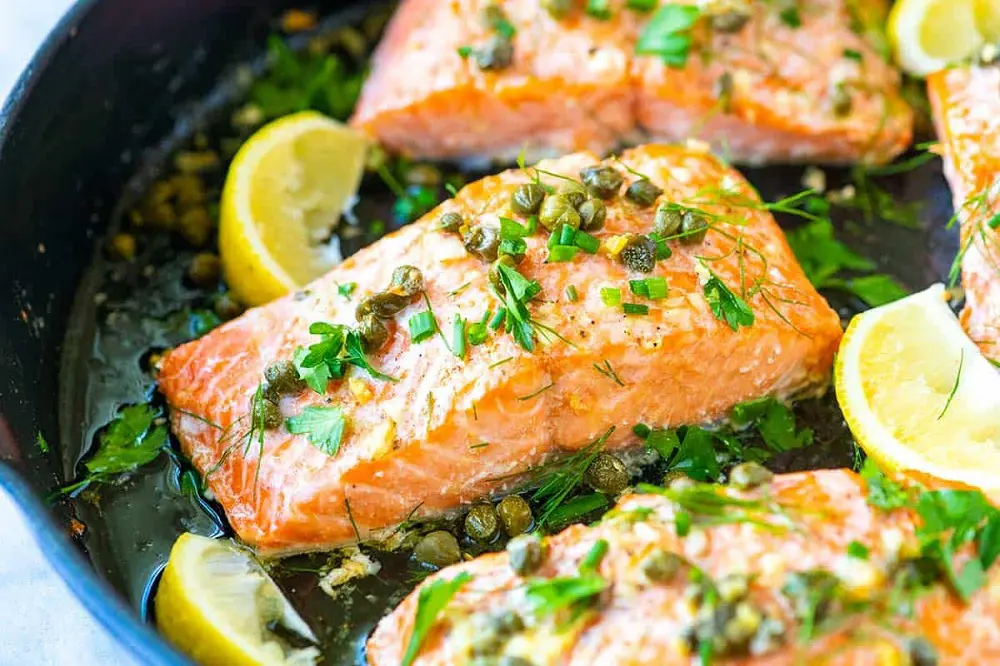
Garlic Butter Salmon Recipe
Garlic butter salmon is not only a culinary delight but also a nutritional powerhouse, offering a delectable blend of flavors and numerous health benefits. This dish combines the rich taste of salmon with the aromatic and savory notes of garlic ...

Recipe
A Comprehensive Guide To Perfect Salmon Gravlax
Salmon gravlax is a luxurious, flavorful dish that captures the essence of Scandinavian culinary tradition. This delicacy, made by curing salmon with a mixture of salt, sugar, and dill, is surprisingly easy to prepare at home. In this comprehensive g...
Recipe
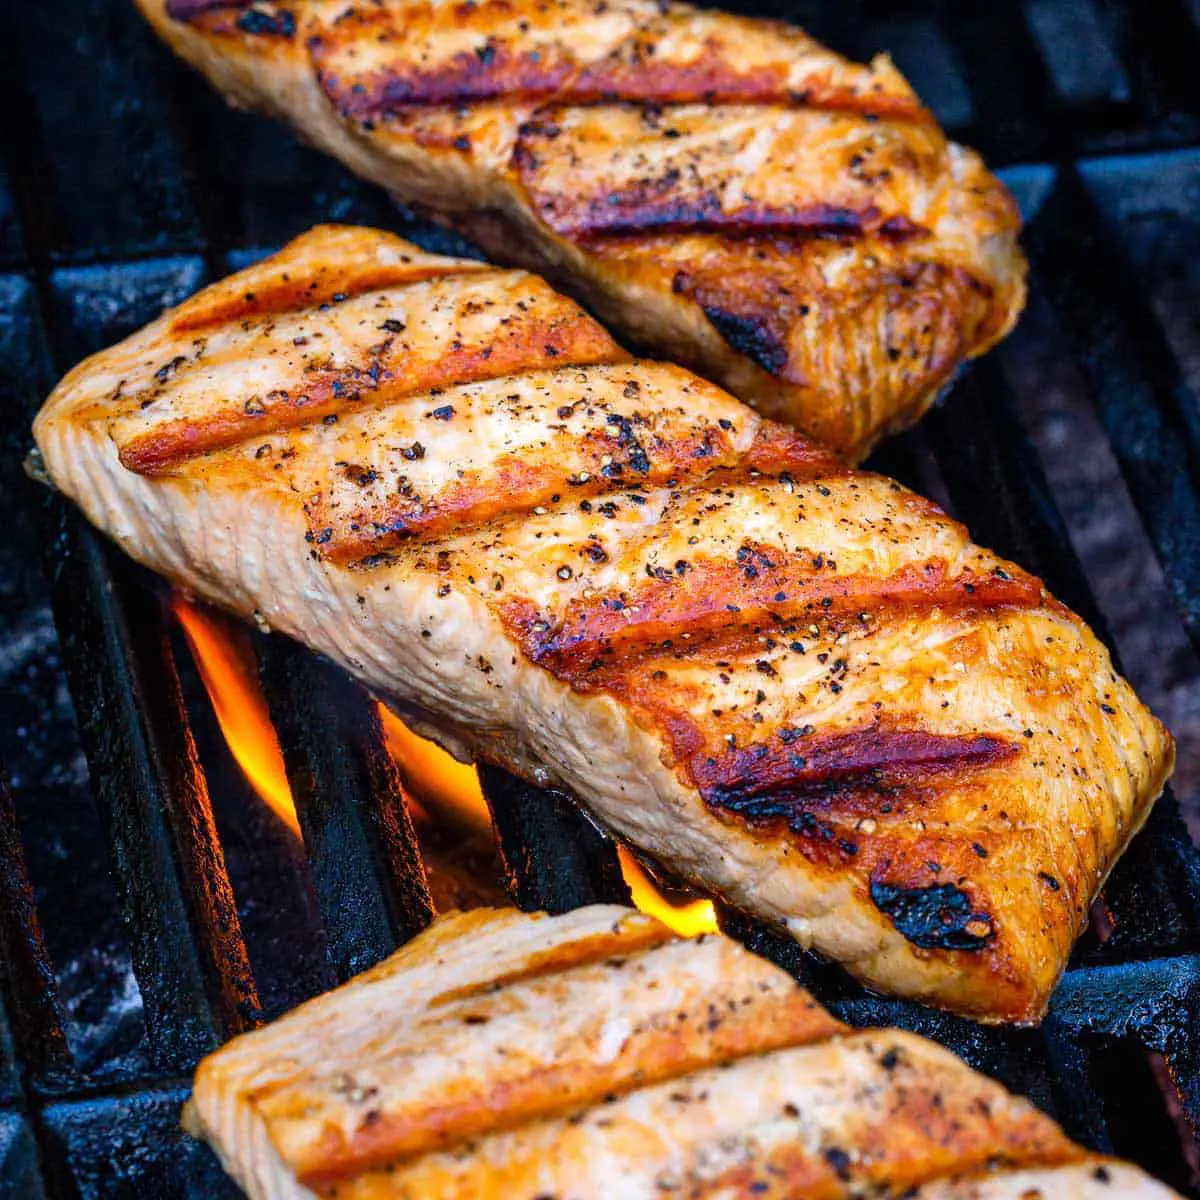
14 Grilled Salmon Recipes For Perfect Summer Dinner
Salmon is possibly the most reliable dinner option for many households throughout America. So, we are confident that you already have an array of salmon-baked recipes on your corner. What we have brought for you today are grilled salmon recipes so yo...

Recipe
Best Smoked Salmon Appetizer Recipe
Smoked salmon appetizers are a timeless and elegant choice for any gathering. These offer a perfect balance of rich, smoky flavors and fresh, vibrant ingredients. These have become synonymous with casual brunches as well as upscale gatherings because...