How To Get Rid Of Smell In Microwave? 12 Quick and Easy Methods
We put a lot of effort into keeping our kitchen spotless, but bad odors still sneak in. These can come from the garbage disposal, refrigerator, or even your microwave -sure, you heard that right!
Continuous food splatters, grease, and steam could make your microwave smelly. But worry not, it isn't permanent! With some simple steps and simple elements, you can dispose of those odors without difficulty.
How To Clean A Smelly Microwave: 12 Ways
Speed and convenience are what we get from microwaves. But think for example, you are just about to reheat a plate of pasta and you find a bad odor within the microwave -it is discouraging! It also can cause a loss of urge for food.
But wait! Cleaning those terrible scents out of the appliance is a simple process. Whether the smell is from a scorched soup or burnt popcorn, it can be removed. Try any of these odor-busting solutions.
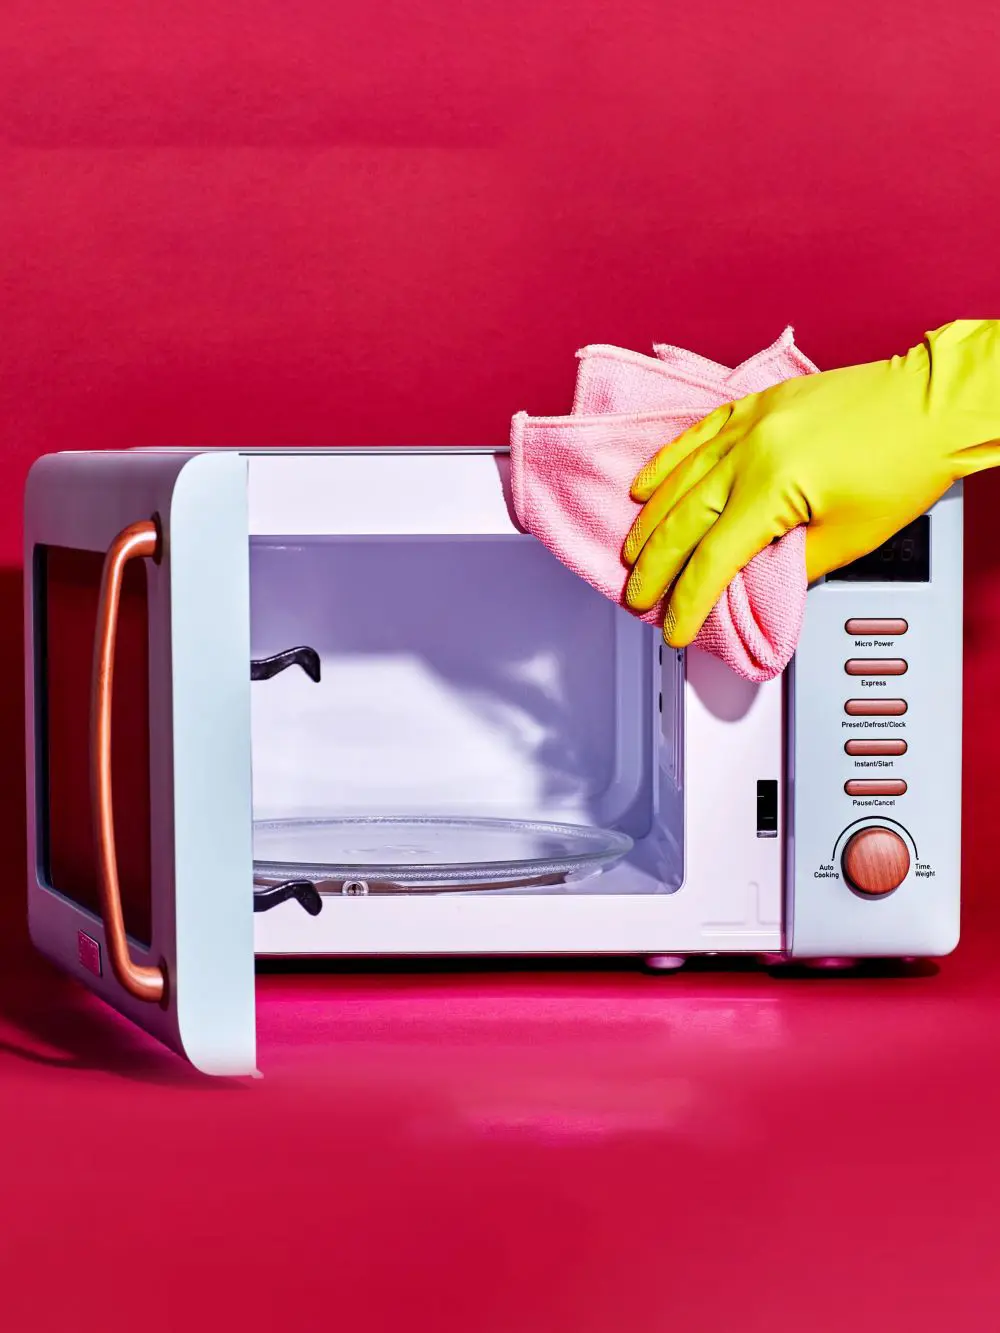
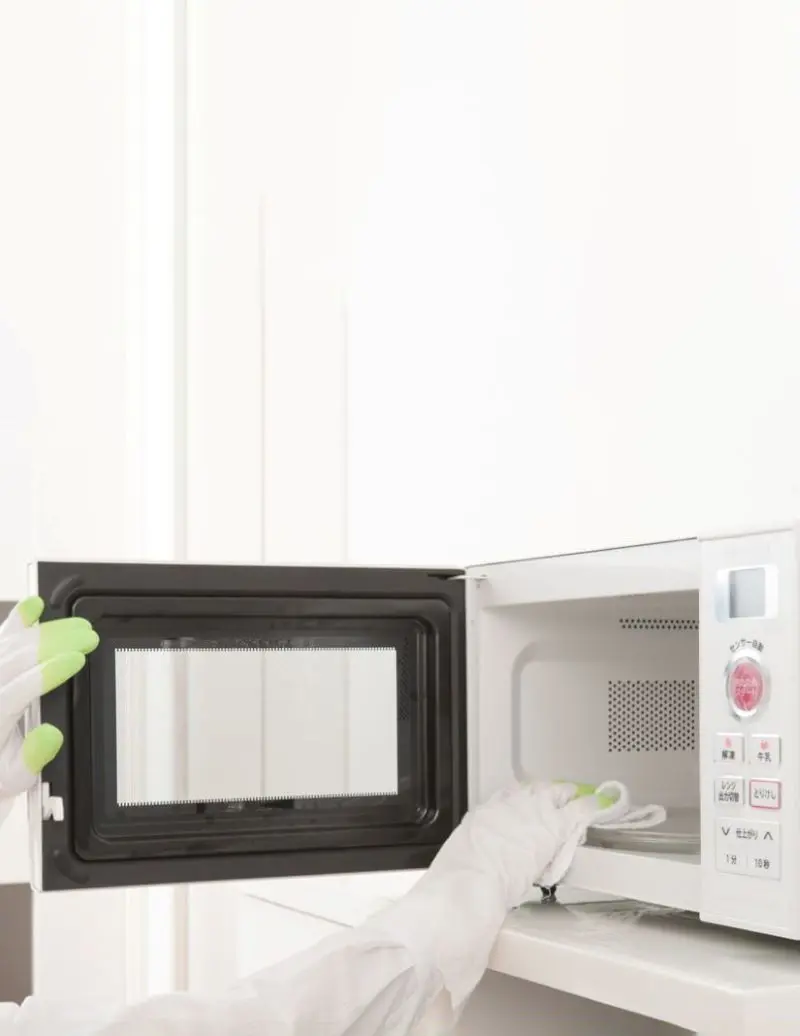
1. Clean the Inside of Your Microwave
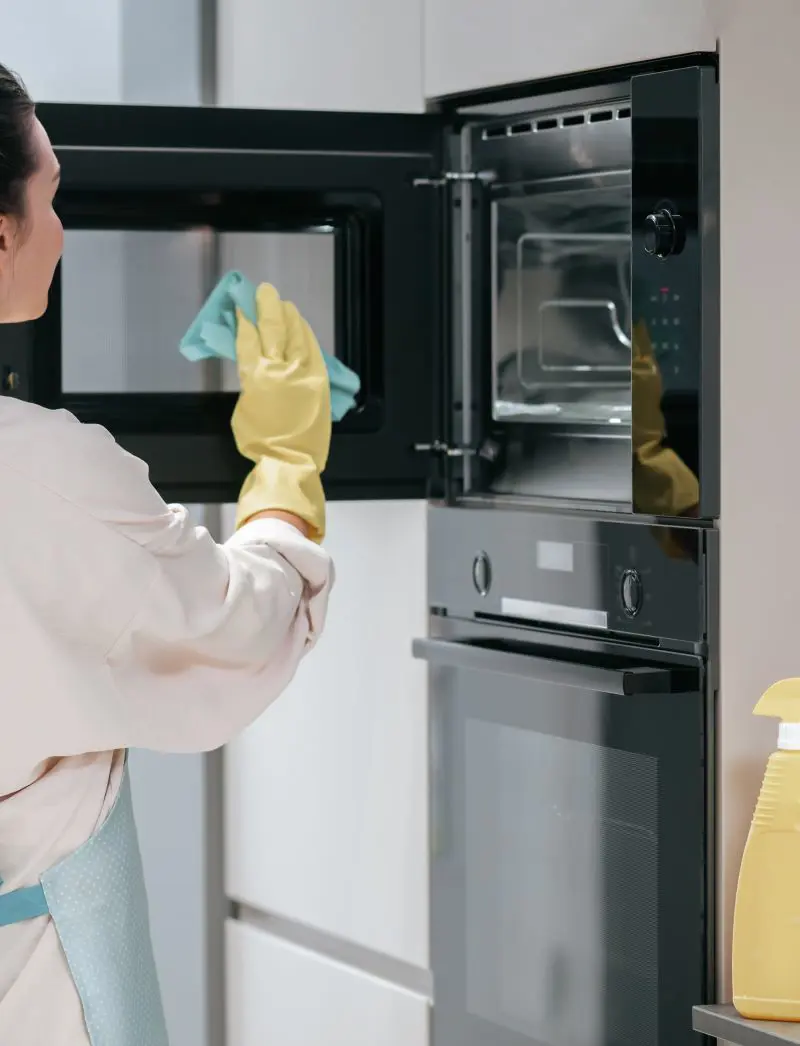
What You’ll Need: Damp sponge or cloth, paper towels or dry cloth
We have all tried this approach to eliminate odors and stains from our microwave. This is a straightforward cleaning method to start with before trying anything else.
- First, you need to unplug the appliance. This is for your safety.
- Next, take out the turntable and other removable parts. You need to wash them in warm, soapy water. Set them aside to dry.
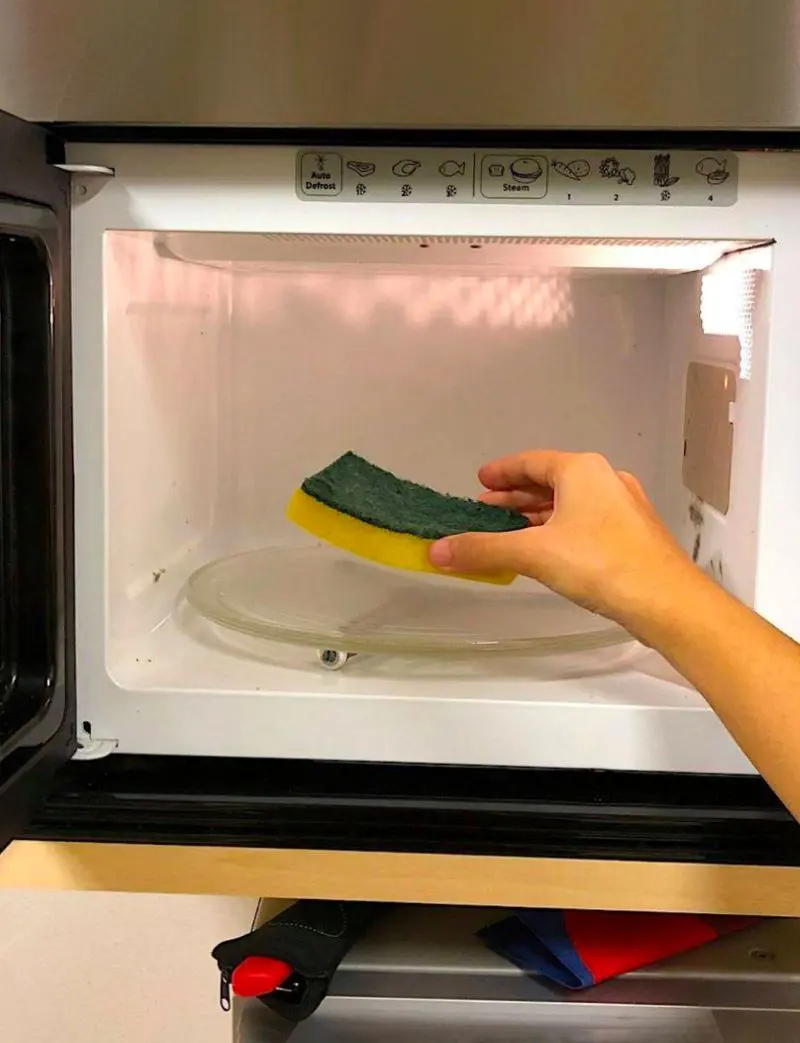
- Take a humid sponge (or cloth) and wipe down the interior partitions of the microwave. Don't forget the ceiling and floor.
- Apply extra pressure on stubborn stains if necessary.
- Once everything is cleaned, use paper towels to dry the surface. This removes any moisture from the inside.
- Finally, place the turntable back in the microwave. It should be completely dry before fixing.
- Optionally, you can give the inside a final wipe. For this use a clean, dry cloth so that there's no leftover moisture.
2. Steam With Water
What You’ll Need: Microwave-safe container, water, sponge or cloth
Well, it's often sufficient to clean your microwave with only a cup of water so that you can remove bad smells. This method involves using steam to soften the stains and eradicate awful odors.
You don’t need any sturdy detergents and it can be used on a daily basis!
- After unplugging the appliance, clear any debris, crumbs or loose burnt portions from inside.
- Take a microwave-secure container and fill it with one cup of water.
- After that, place the container inside the microwave. Heat for about 3 to 4 minutes. This will create steam.
- Let the steam work for a while. Once done, carefully open the door. You need to be careful here, as the steam will be hot.
- Now, leave the bowl in the microwave for some more minutes.
- Use oven mitts and take out the bowl
- Take a damp cloth or sponge and wipe the interior -walls, ceiling, and floor.
- Once everything is wiped, dry the inside using a dry cloth.
3. Steam with Lemon Juice or Vinegar

What You'll Need: Water, lemon juice or vinegar
The steam from the water didn't help? In such cases, you may need a little assistance from lemon juice or vinegar. These natural cleaners have properties that help neutralize odors.
- Begin by removing any leftover food particles or burnt residue from the appliance.
- Grab a bowl that is suitable for microwave and take one cup of water and 1 tablespoon of lemon juice or vinegar, preferably white.
- After their preparation, warm the solution in the microwave at high for a period of 2-5 minutes. This will create steam that will discard odor and loosen grime.
- Once heated, leave the bowl inside for a couple of minutes. Then, remove it carefully.
- Once the water has cooled wash the inner part of the appliance as well as the door with a cloth soaked in the solution.
- Afterwards do the wiping again with a damp cloth. After that dry with another clean cloth or paper towel.
- You can leave the door open to let the interior dry completely.
4. Vanilla and Water Steam
What You'll Need: Water, vanilla extract, microwave-safe bowl
We frequently use vanilla extract in baking because it offers a fragrant aroma to dishes. But did you know it can bring the same pleasant scent to cleaning projects? It is a bit costly, though, so you can apply it when you have some extra.
- Firstly, mix vanilla extract (4 teaspoons) with enough water (1-2 cups) in a microwave dish.
- Put the solution inside the microwave and heat for a couple of minutes. Or until it starts to boil.
- After the water boils, turn off the microwave and leave the bowl inside.
- You need to let the steam rest for half-hour.
- Once the time is up, remove the bowl.
- At last, wipe the inside of the microwave with a clean cloth or sponge.
5. Coffee Grounds Deodorizer

What You'll Need: Microwaveable dish, ground coffee, water
A cup of warm espresso is all you need to start the day. But are you aware, coffee may be used for cleaning? In fact, it's one of the most effective natural air fresheners.
- Take a microwave-safe mug. Combine two tablespoons of ground coffee with half a cup of water.
- Next step is to heat the mug for 2 to 10 minutes. Remember that the mixture should not boil.
- To prevent from boiling, you can heat it for 2 minutes at a time. And let the cup cool slightly before you continue.
- Monitor the water level during heating.
- In case you notice it has evaporated, put some more in the pot as needed.
- Heat for a total of ten minutes and then take the cup out of a microwave.
- You can then rub the interior with a clean cloth. If the odor is still there, you may repeat the process again.
6. Vinegar And Baking Soda Solution
What You'll Need: Baking soda, vinegar, sponge
These are the two most common solutions to eliminate those bad smells. With little time and no fancy tools, you can easily adopt this method. Also, you might already have these pantry staples on hand.
- First things first, gather your supplies, plus a clean sponge.
- Next, dip the sponge in white vinegar and add some baking soda over it.
- Put the wet sponge in the center of your microwave. Then, heat for 20-30 seconds.
- After that, you need to scrub the inside using the same sponge.
- Rinse the inside with soap and water. In the end, dry it with a dishcloth or paper towel.
7. Lemon or Orange Steam
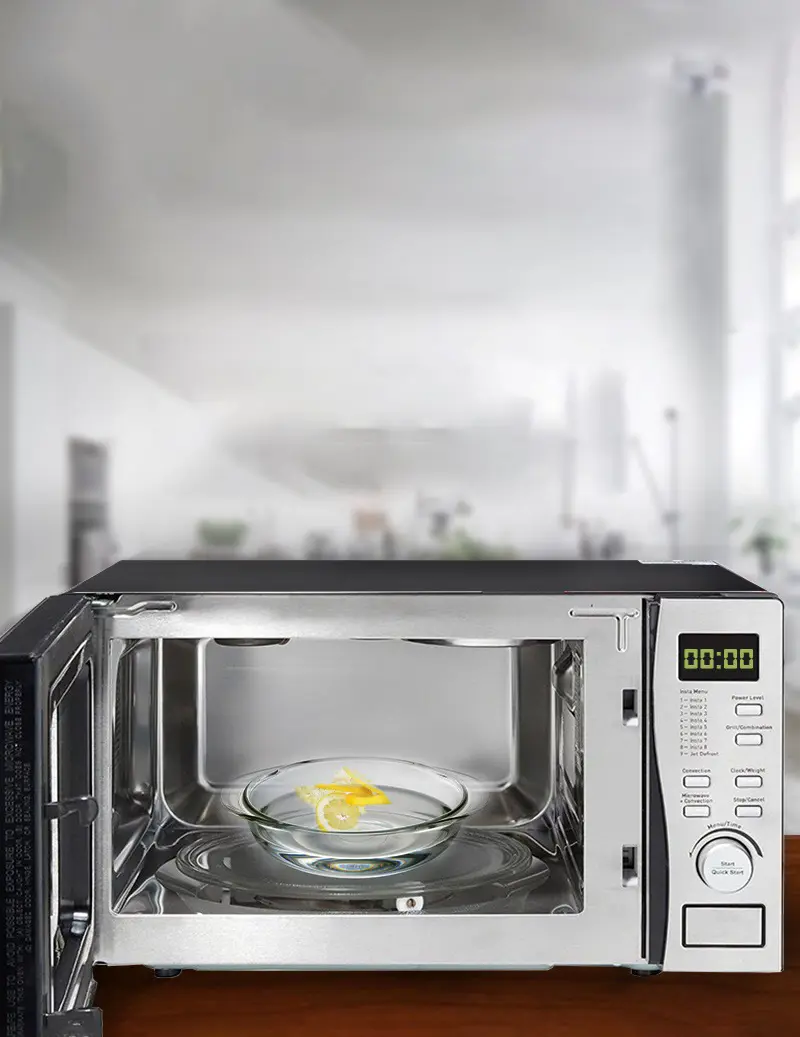
What You'll Need: Orange or lemon slices, water, microwave-safe bowl
If you like a citrus smell, this technique is for you. It applies lemon or orange slices to restore the cheerful smell of your microwave oven.
- First place lemon (or orange) slices in a bowl best suited for microwave use. Add water in the pot to bring the slices into contact with water.
- Place the mixture in the microwave and heat it until the water comes to boil.
- After boiling, switch off the appliance and allow the bowl to sit inside. Let it sit for half an hour.
- After that, when the alarm rings, remove the bowl from the microwave.
- With a clean cloth or sponge you can wipe the inside in a proper manner.
Note: Looking for a stronger citrus scent? If desired, you can use some water and a few drops of any essential oil like lemon or orange.
8. Coffee Grounds Overnight
What You'll Need: Open container of coffee grounds
If you want to use something new, you can try using dry coffee grounds as your deodorizer. The next morning, you will find your appliance smelling fresh because the coffee has absorbed all the bad odors.
- Begin by putting an open container of coffee inside the microwave.
- Allow the coffee to sit overnight. Do not disturb or use the device during this time.
- Remove the box the next morning and wipe the inside with a damp cloth.
9. Open Baking Soda Box Overnight
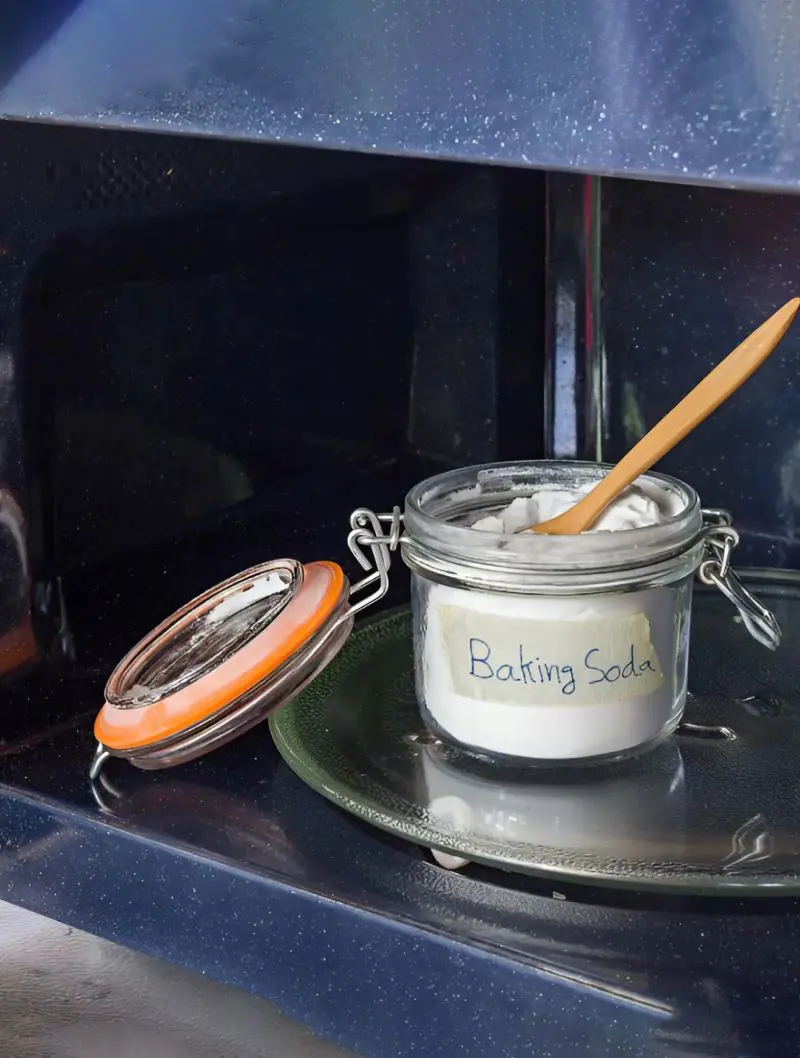
What You'll Need: Container of baking soda
If you still detect an awful smell after the above activities, then you may need to deodorize your device. It should not be used at this time.
- Put an open box of baking soda in the mid section of the microwave oven.
- Do not move the box and leave it there for the night.
- The next morning you have to take the box away.
- If it’s needed, wipe the internal of the microwave with a damp material. This removes the baking soda residue which could have been left behind.
Note: You should not use the same baking soda in cooking. But still, it can be used to clean other appliances.
10. Charcoal Deodorizer
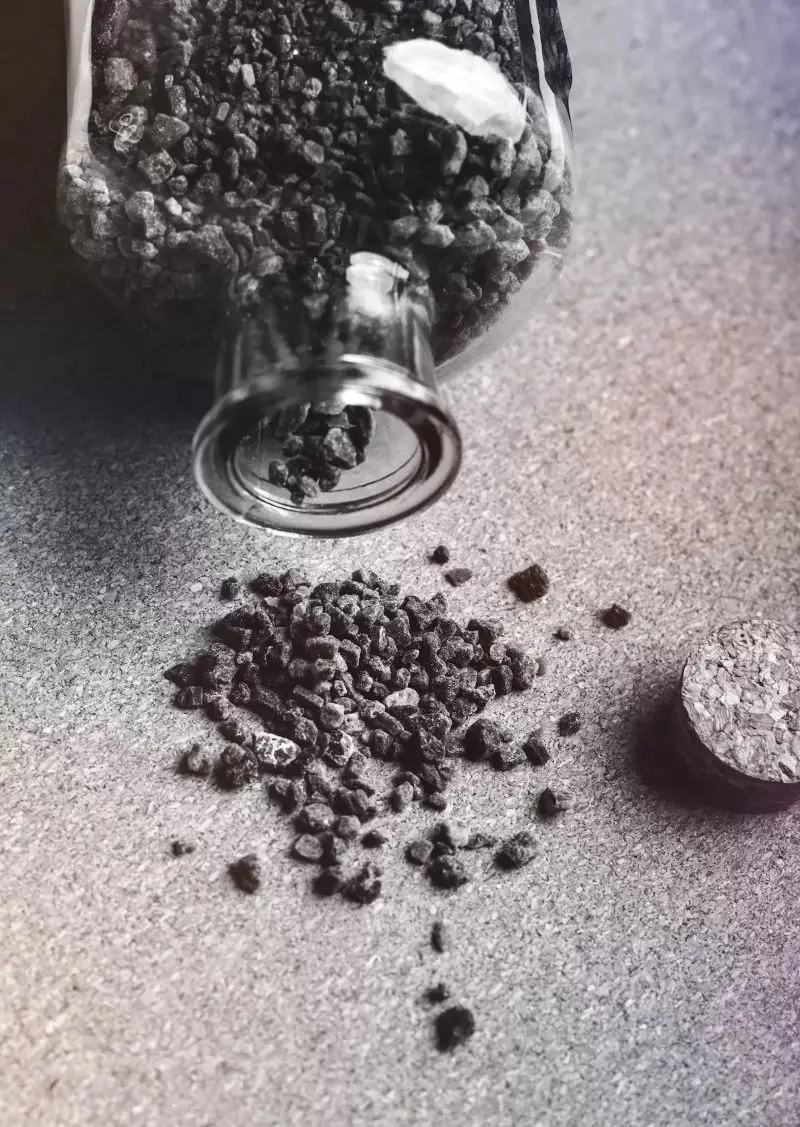
What You'll Need: Charcoal pieces, bowl
Charcoal is useful when you need something to soak up smell and moisture in appliances. This is why people often place it inside the fridge. So, why not use it to deodorize your microwave?
- At first, cut the charcoal into small chunks.
- In the next step, you need to put those pieces in a bowl.
- Keep the bowl inside the microwave overnight.
- In the morning, check if the bad smells have been absorbed.
- If the bad smell isn't gone, leave the charcoal inside the device whenever you're not using it.
11. Rubbing Alcohol
What You'll Need: Cotton balls or clean cloth, rubbing alcohol, soap and water
It's not only for first aid! Rubbing alcohol is a flexible product with diverse uses. One of them is its use as a cleansing agent, and yes, it may remove awful smells from your device.
- As a number one step take some cotton balls and moisten them with rubbing alcohol.
- Use the alcohol-soaked cotton balls to wipe the inside of the microwave.
- After you finish, the next step is to cleanse the microwave with cleaning soap and water.
- Once done, leave the microwave door open to air dry.
12. Cloves
What You'll Need: Ground cloves, bowl
To our amazement, spices such as cloves have been found to have odor eliminating abilities that come in handy when dealing with the stink of your microwave. In addition, they emit an appealing warm spicy and slight sweetness.
- Include 1/4 cup of cloves in a small bowl that is microwave safe.
- Place the bowl into the microwave.
- Allow the cloves to sit in the microwave overnight. You can also leave it in the microwave when you are not using the appliance.
What Causes Your Microwave To Smell
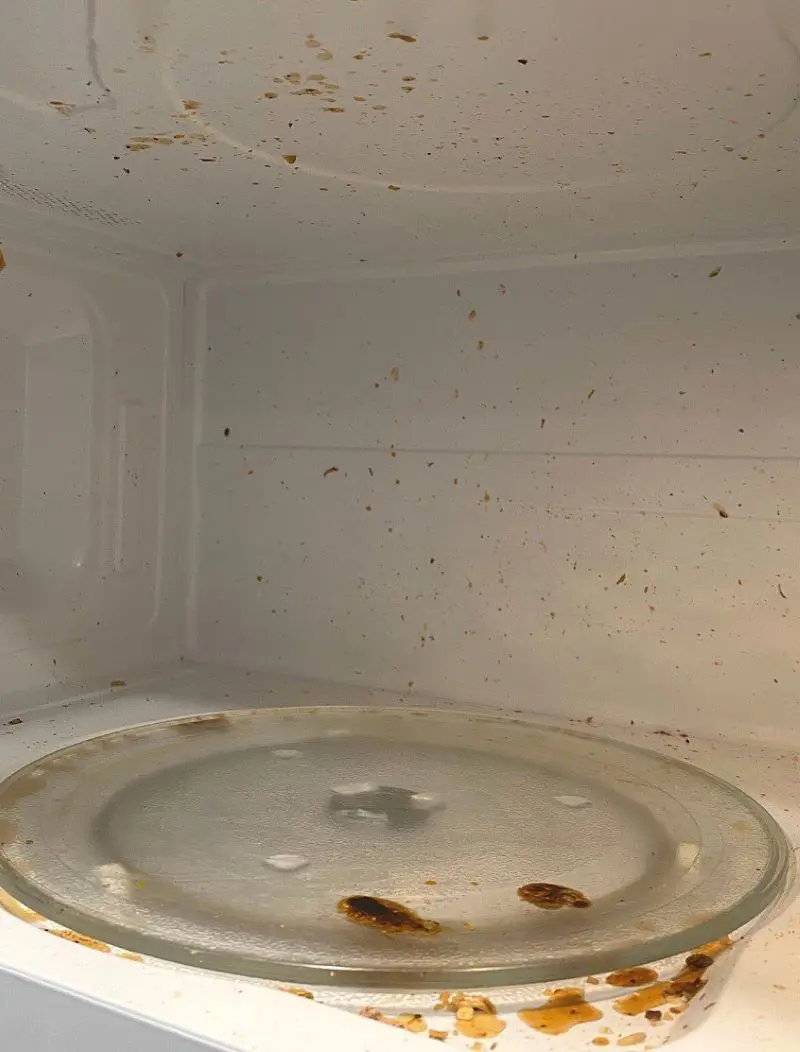
Reheating meals, defrosting, and cooking -your microwave got you covered. However, with time, those devices can produce bad odors, which could have an effect on the flavor of the food being heated.
There may be various reasons for a pungent microwave, and understanding them helps you to take appropriate steps to clear out the odors. So, right here are a few reasons why your microwave can scent.
- Food splatters: When food bubbles and pops, it leaves tiny bits all over the inside. These leftovers can burn and stink when you use the microwave again.
- Burnt popcorn: You have likely noticed that popcorn burns effortlessly. This can leave a sturdy, long-lasting odor difficult to dispose of.
- Plastic: In case you have heated plastic containers or wraps, they can melt and give out a bad flavor.
- Old food: Many times, we leave food in the microwave. Such forgotten leftovers can rot over time and cause bad smells.
- Dirty microwave: If you do not scrub your microwave frequently, food bits build up and begin to odor over time.
Tips For Preventing And Removing Odors From A Microwave
Smelly microwaves are no fun, but do not worry - it happens to everyone. Food splatters, burns, and spills can leave behind nasty odors. To prevent this, you need to clean the tool frequently. If there are any spills, wipe them up straight away.
Here are a few pointers to keep your microwave smelling exceptional:
- Clean up messes right away: Don't let spills sit around! Wipe them up as soon as they happen. It's much easier than scrubbing dried-on food later.
- Watch your food closely: Keep an eye on things like bread and popcorn. They burn easily and can stink up your microwave fast.
- Use the right dishes: Always use microwave-safe containers. Plastic that's not microwave-safe can melt and smell terrible.
- Regular maintenance: Clean your microwave often with a soft, damp cloth. No need for harsh cleaners!
- Let it breathe: After cleaning, leave the door open for some time. This helps eliminate any leftover moisture and scents.
- Replace the filter: If your microwave has a charcoal filter and still smells after cleaning, it is probably time you get a new one.
- Use covers: Put a microwave-safe lid or paper towel over your meals. This stops splatters before they show up.
Remember, a clean microwave is a happy microwave! It'll work better, last longer, and keep your food tasting great.
Plus, you won't have to hold your nose every time you heat up a snack! With these tips, your microwave will stay fresh and odor-free all year round.
Recent posts
Kitchen Tips

Kitchen Tips
Best Ways To Reheat Salmon
Salmon is a delightful fish that is consumed by many people. The reason is its flavors and nutritional benefits. Whether be it a normal dinner night or any occasion, you will find salmon on the plate. Having leftover salmon makes you think how ...

Kitchen Tips
3 Methods To Defrost Salmon Without Ruining It
Salmon makes everyone delighted at dinnertime, and it's easy to see why. While fresh salmon from the store tastes wonderful, sometimes life gets too busy for shopping trips. That's when frozen salmon becomes your kitchen hero! With the right defrosti...

Kitchen Tips
Sardines vs Anchovies: What Sets These Pungent Fish Apart?
Sardines and anchovies are both types of small, oily fish that are widely used in food around the world. Both sardines and anchovies are marine or saltwater fish. They are commonly found in coastal waters and are part of the vast array of species tha...
Kitchen Tips
14 Heavy Cream Substitutes For Cooking
Heavy cream, also known as heavy whipping cream, is a luxurious dairy product celebrated for its rich and velvety texture. The cream is made by skimming the fat content from fresh cow's milk with about 36-40% milk fat. However, there are severa...

Kitchen Tips
20 Best Italian Herbs And Seasoning Spices
Italian cuisine is known for its simplicity and the use of locally produced, high-quality, fresh ingredients. One of the reasons behind this is the skillful use of herbs and spices to enhance flavors and create diverse taste profiles. Depending on wh...

Kitchen Tips
15 Butter Replacement Products When You Run Out Of It
Butter makes everything better. It is a kitchen staple that can be found in pretty much everyone's pantry. From baking to sauteeing, we use this ingredient in the kitchen pretty much every day. So, it is natural for us to look for alternatives for da...