How To Make Apple Cider Vinegar At Home

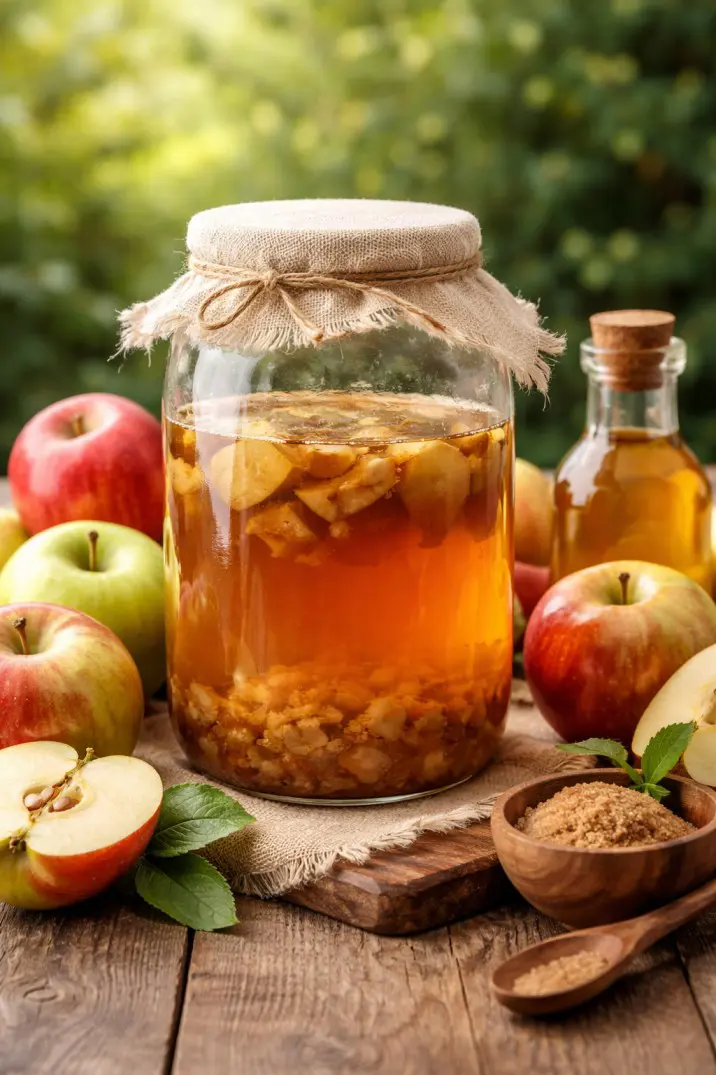
Apple cider vinegar (ACV) is a natural ingredient celebrated for its health benefits, including aiding digestion, boosting immunity, and even promoting healthy skin.
While store-bought versions are convenient, making your own apple cider vinegar at home is surprisingly simple, cost-effective, and allows you to enjoy raw, unfiltered ACV with all the natural nutrients intact. This guide will walk you through the process, ingredients, and tips to create your own apple cider vinegar.
Ingredients You Will Need
To make apple cider vinegar at home, you will need the following:
-
Apples – 4 to 6 medium-sized apples (organic preferred)
-
Sugar – 1/4 cup (to feed the fermentation process)
-
Water – Enough to cover the apples
-
A clean glass jar – For fermentation
-
Cheesecloth or breathable cloth – To cover the jar
-
Rubber band or string – To secure the cloth
Step by Step Guides
Step 1: Prepare the Apples
Wash the apples thoroughly to remove any dirt or pesticides. Cut the apples into small chunks, including the cores if using organic apples. Place the chopped apples into your clean glass jar.
Pro Tip: Avoid using metal containers for fermentation, as the acid may react with metal and alter the flavor.
Step 2: Add Sugar and Water
Sprinkle sugar over the apples in the jar. Sugar is essential because it acts as food for the natural yeast and bacteria that will ferment the apples into vinegar. Add enough water to fully cover the apple pieces. Stir the mixture gently to dissolve the sugar.
Step 3: Cover and Store
Cover the jar with a cheesecloth or any breathable cloth. Secure it with a rubber band or string. This allows air to flow in while keeping dust and insects out. Place the jar in a dark, warm place (around 60–80°F or 15–27°C) for the fermentation process to begin.
Important: Avoid direct sunlight as it can slow down or disrupt fermentation.
Step 4: First Fermentation (Apple Alcohol)
Allow the mixture to ferment for 3–4 weeks. During this time, natural yeast and bacteria will convert the sugars in the apples into alcohol. Stir the mixture every few days to prevent mold from forming on the surface.
Tip: A thin layer of foam or bubbles is normal—it means the fermentation is active.
Step 5: Strain the Liquid
After the first fermentation, strain the liquid to remove the apple solids. Use a fine mesh strainer or cheesecloth to pour the liquid into a clean jar. This liquid is essentially “apple cider” that will soon turn into vinegar.
Step 6: Second Fermentation (Vinegar Formation)
Cover the jar again with the cheesecloth and leave it in the same warm, dark place for 4–6 weeks. During this time, acetic acid bacteria will convert the alcohol into acetic acid, which gives vinegar its sour taste.
Tip: Taste the liquid after 4 weeks. If it’s not as tangy as you like, let it ferment for another 1–2 weeks.
Step 7: Bottling and Storage
Once your apple cider vinegar reaches the desired taste, transfer it to clean, airtight bottles. Store the vinegar in a cool, dark place. Homemade apple cider vinegar can last for up to a year without refrigeration, though keeping it in the fridge can help maintain flavor.
Tips for Best Results
-
Use organic apples – Reduces pesticides and enhances natural fermentation.
-
Don’t stir too vigorously – Gentle stirring is enough to keep mold away.
-
Be patient – Natural fermentation takes time but produces a richer, more flavorful vinegar.
-
Look for the “mother” – A cloudy, cobweb-like substance forming in the vinegar is the “mother,” indicating healthy fermentation.
Benefits of Homemade Apple Cider Vinegar
-
Supports digestion – ACV can improve gut health and aid in digestion.
-
Boosts immunity – Contains antioxidants and enzymes beneficial for overall health.
-
Natural cleaning agent – Can be used as a non-toxic cleaner around the house.
-
Skin and hair care – Acts as a natural toner and scalp conditioner.
FAQs
1. Can I use any type of apple?
Yes, but sweeter apples tend to produce better-tasting vinegar. Organic apples are preferred for health benefits and natural fermentation.
2. Do I need to refrigerate homemade ACV?
No, vinegar is naturally preservative. Keep it in a cool, dark place. Refrigeration helps maintain flavor.
3. How long does it take to make ACV?
The entire process takes about 6–10 weeks, including both fermentation stages.
4. What if mold appears on the surface?
If mold appears, remove it immediately. If the smell is off, discard the batch and start fresh.
5. What is the “mother” in apple cider vinegar?
The “mother” is a natural collection of beneficial bacteria and enzymes that form during fermentation. It’s a sign of authentic, raw vinegar.
Recent posts
Recipe

Recipe
How to Make Shrimp Scampi: A Flavorful and Easy Seafood Classic
Shrimp scampi is a timeless dish that combines tender shrimp with a rich, garlicky butter sauce, often served over pasta or with crusty bread. Known for its simplicity and bold flavor, this dish is perfect for both quick weeknight dinners and elegant...
Recipe
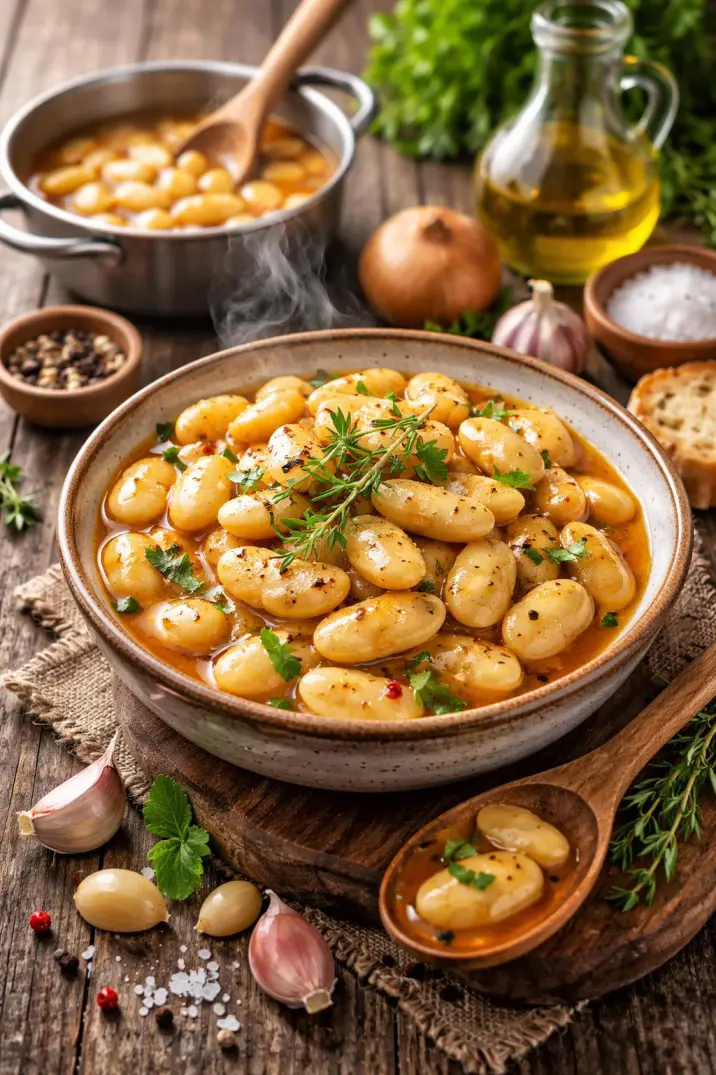
How to Cook Butter Beans | Easy & Flavorful Recipe
Butter beans are a comforting, nutritious staple known for their creamy texture and mild, buttery flavor. Whether you’re preparing a hearty side dish or a plant-based main course, learning how to cook butter beans properly can elevate your meal...

Recipe
How to Make Kimchi at Home
Kimchi, the iconic Korean fermented dish, is celebrated for its spicy, tangy, and umami-rich flavor. It is not just a side dish but a cultural staple, packed with vitamins, probiotics, and health benefits. Making kimchi at home may seem intimidating,...
Recipe
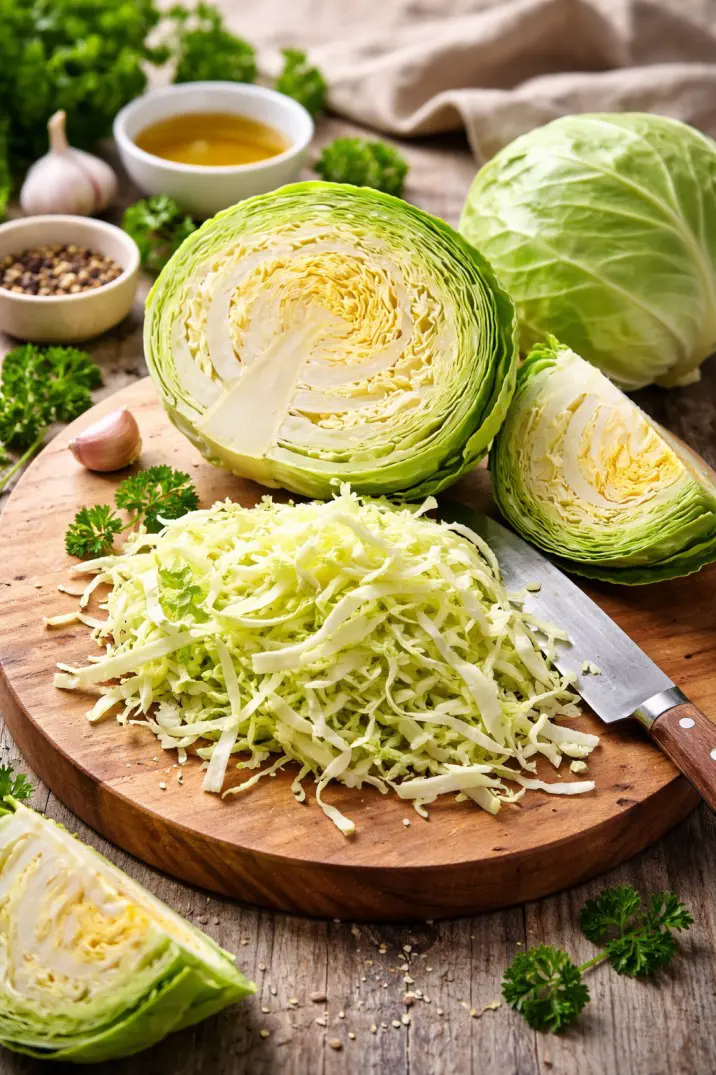
How to Cook Cabbage: Easy, Delicious, and Healthy Recipes
Cabbage is a versatile, nutritious, and affordable vegetable loved in kitchens worldwide. Whether you enjoy it as a side dish, in soups, or as a main ingredient in salads, learning how to cook cabbage properly can elevate its taste and preserve its n...
Recipe
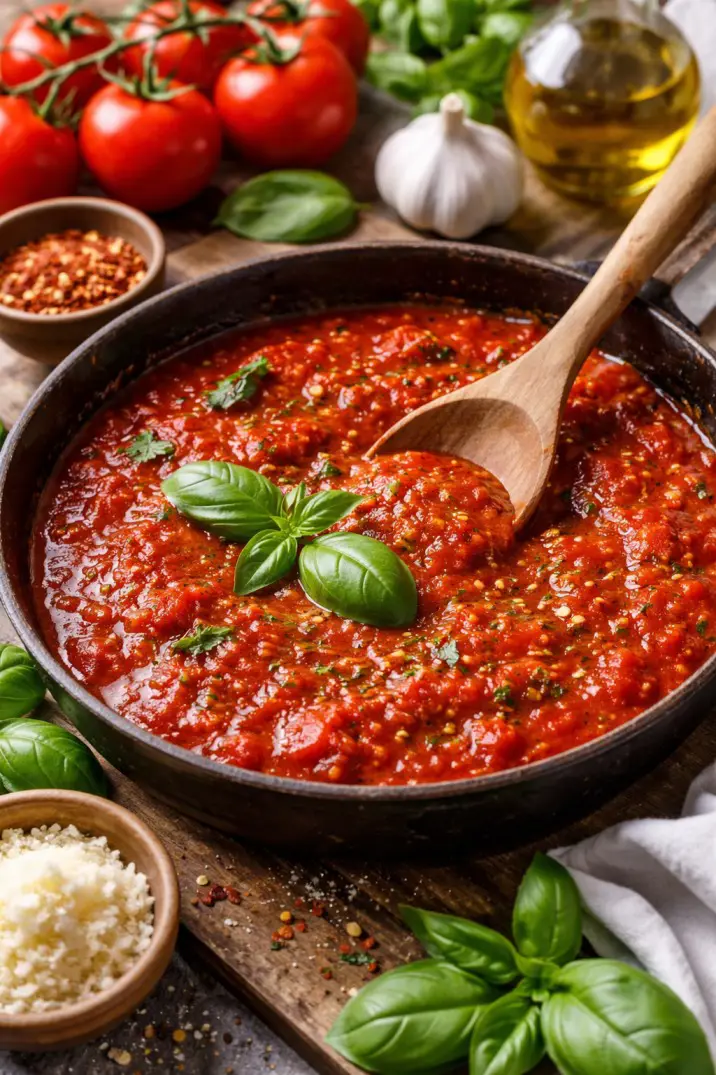
Easy Homemade Pasta Sauce Recipe
Nothing beats the taste and aroma of a fresh, homemade pasta sauce. While store-bought jars are convenient, making your own sauce lets you control the ingredients, flavor, and consistency. Homemade pasta sauce is not only healthier - free from preser...

Recipe
Homemade Hamburger Helper Recipe: A Creamy One-Pan Comfort Meal
If you’re looking for a quick, hearty, and family-friendly dinner, a homemade hamburger helper recipe is the perfect solution. This classic comfort dish combines ground beef, pasta, creamy sauce, and savory seasonings into one satisfying skille...